$
man getting-started
Install Swavan SSH Studio, complete first launch, and set up your secure vault. Your credentials are encrypted locally — nothing leaves your device.
Platforms
macOS · Windows · Linux · iOS · Android (coming soon)
Encryption
ChaCha20-Poly1305 + Argon2 key derivation
Storage
100% local SQLite — no cloud sync required
Price
Free to use
1
Download and install
Visit the GitHub Releases page and download the build for your platform.
- macOS: .dmg universal binary (Apple Silicon + Intel)
- Windows: .msi or .exe installer
- Linux: .AppImage (no install required — see Installation section for FUSE setup)
- iOS / Android: Available via the App Store and Google Play
2
Choose vault setup method
On first launch you will see the vault setup screen. Three options are available:
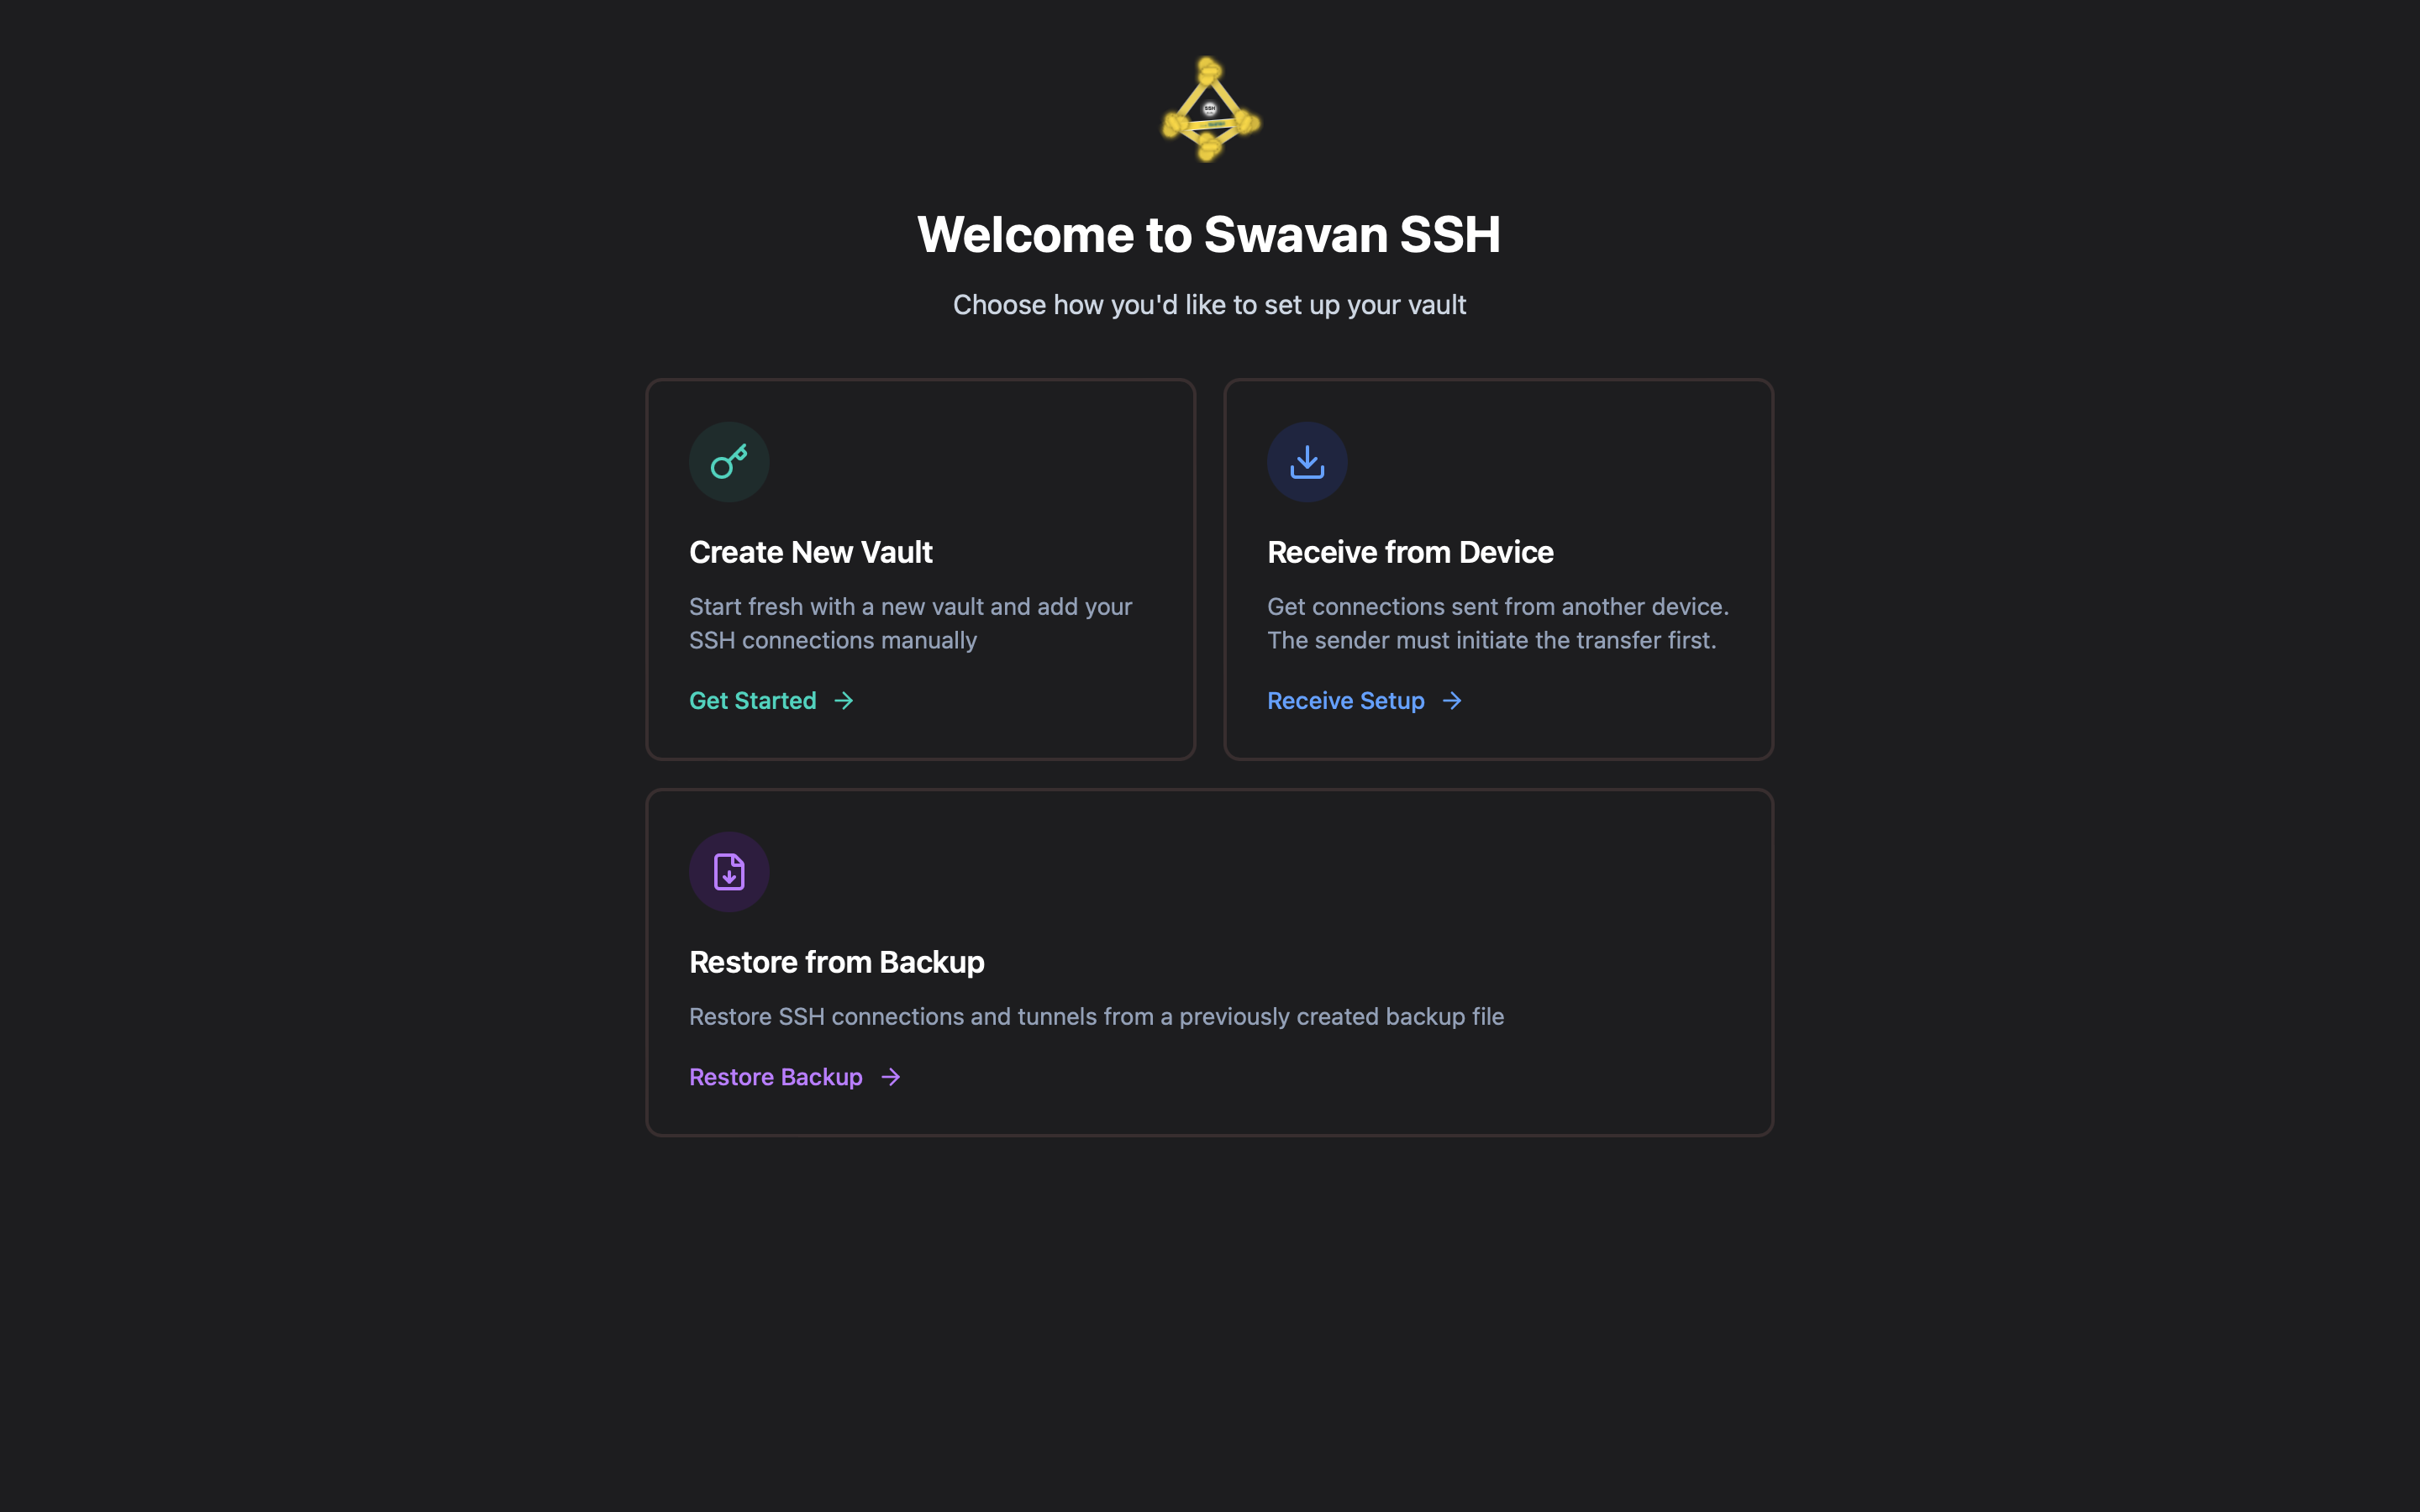
Vault initialization — choose your setup method
- Create New Vault — start fresh and add connections manually
- Receive from another device — encrypted P2P transfer from an existing device
- Restore from backup — restore from a previously exported encrypted backup file
3
Create your master password
Choose "Create New Vault", enter a strong master password, confirm it, then click Initialize Vault.
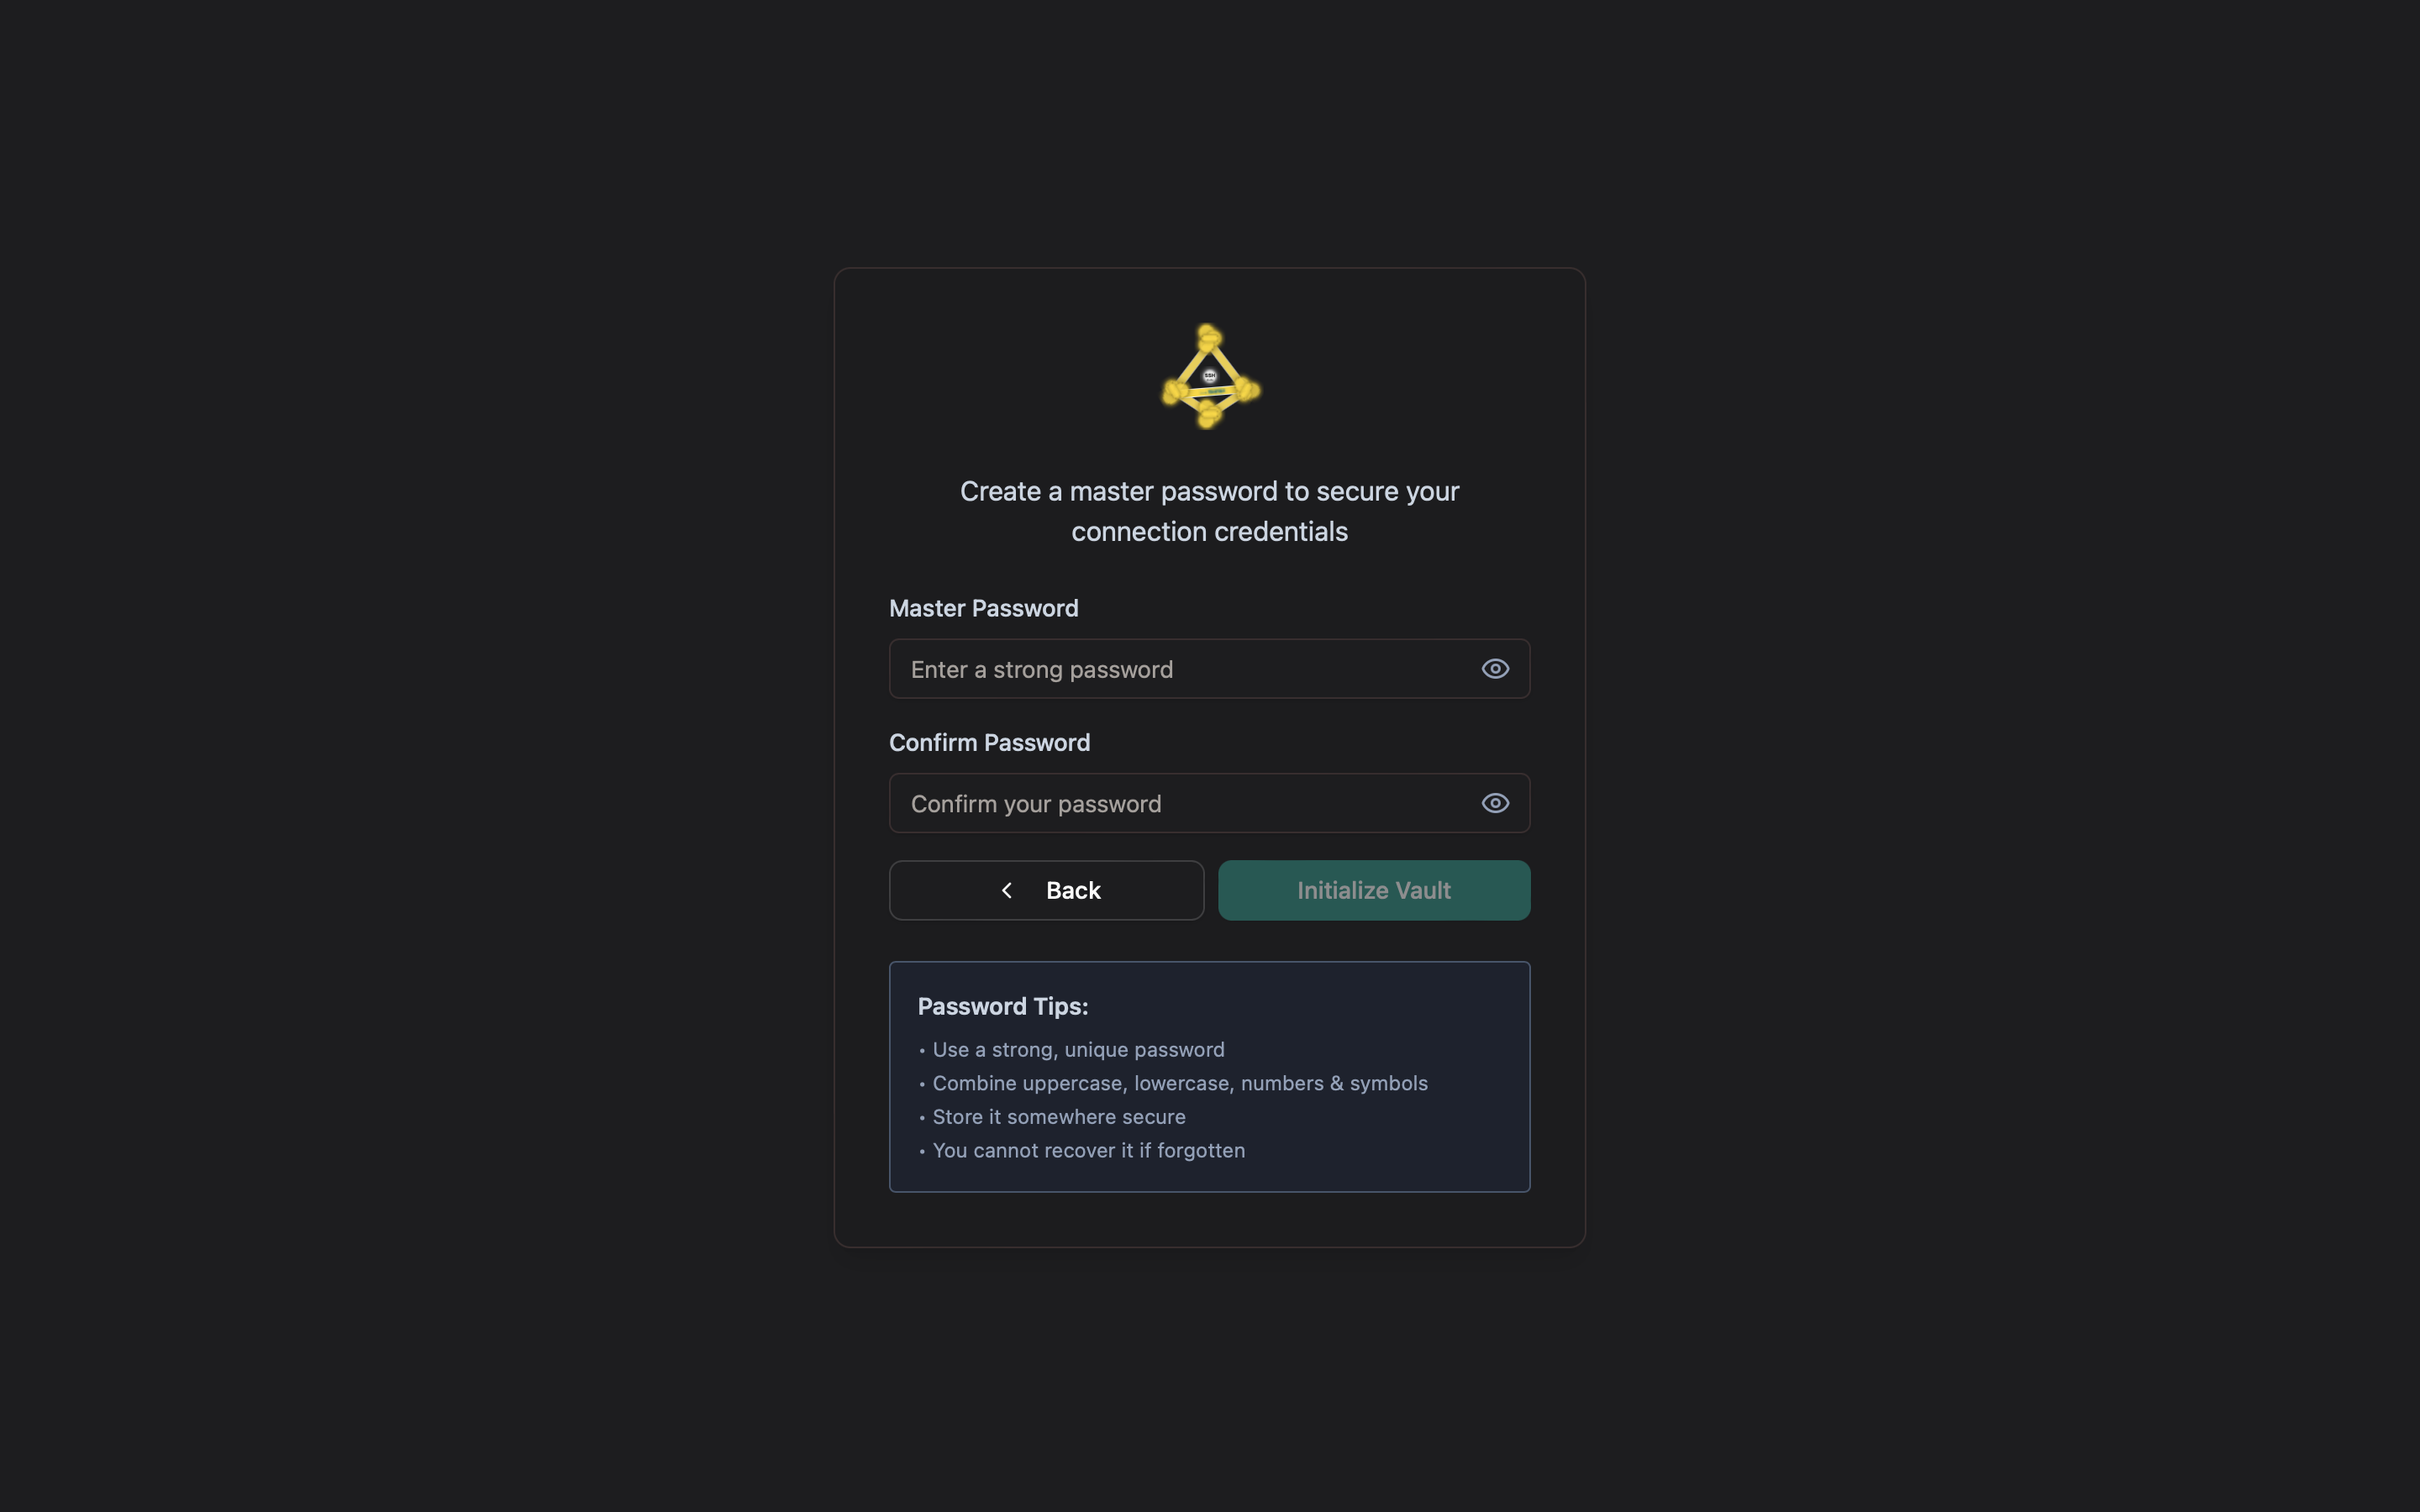
Create master password — this encrypts all stored credentials
[warn]
There is no password recovery. If you lose your master password and have no backup, your stored credentials cannot be recovered. Store it in a password manager.
4
Unlock the vault on subsequent launches
Every time you open the app, enter your master password to unlock the vault.
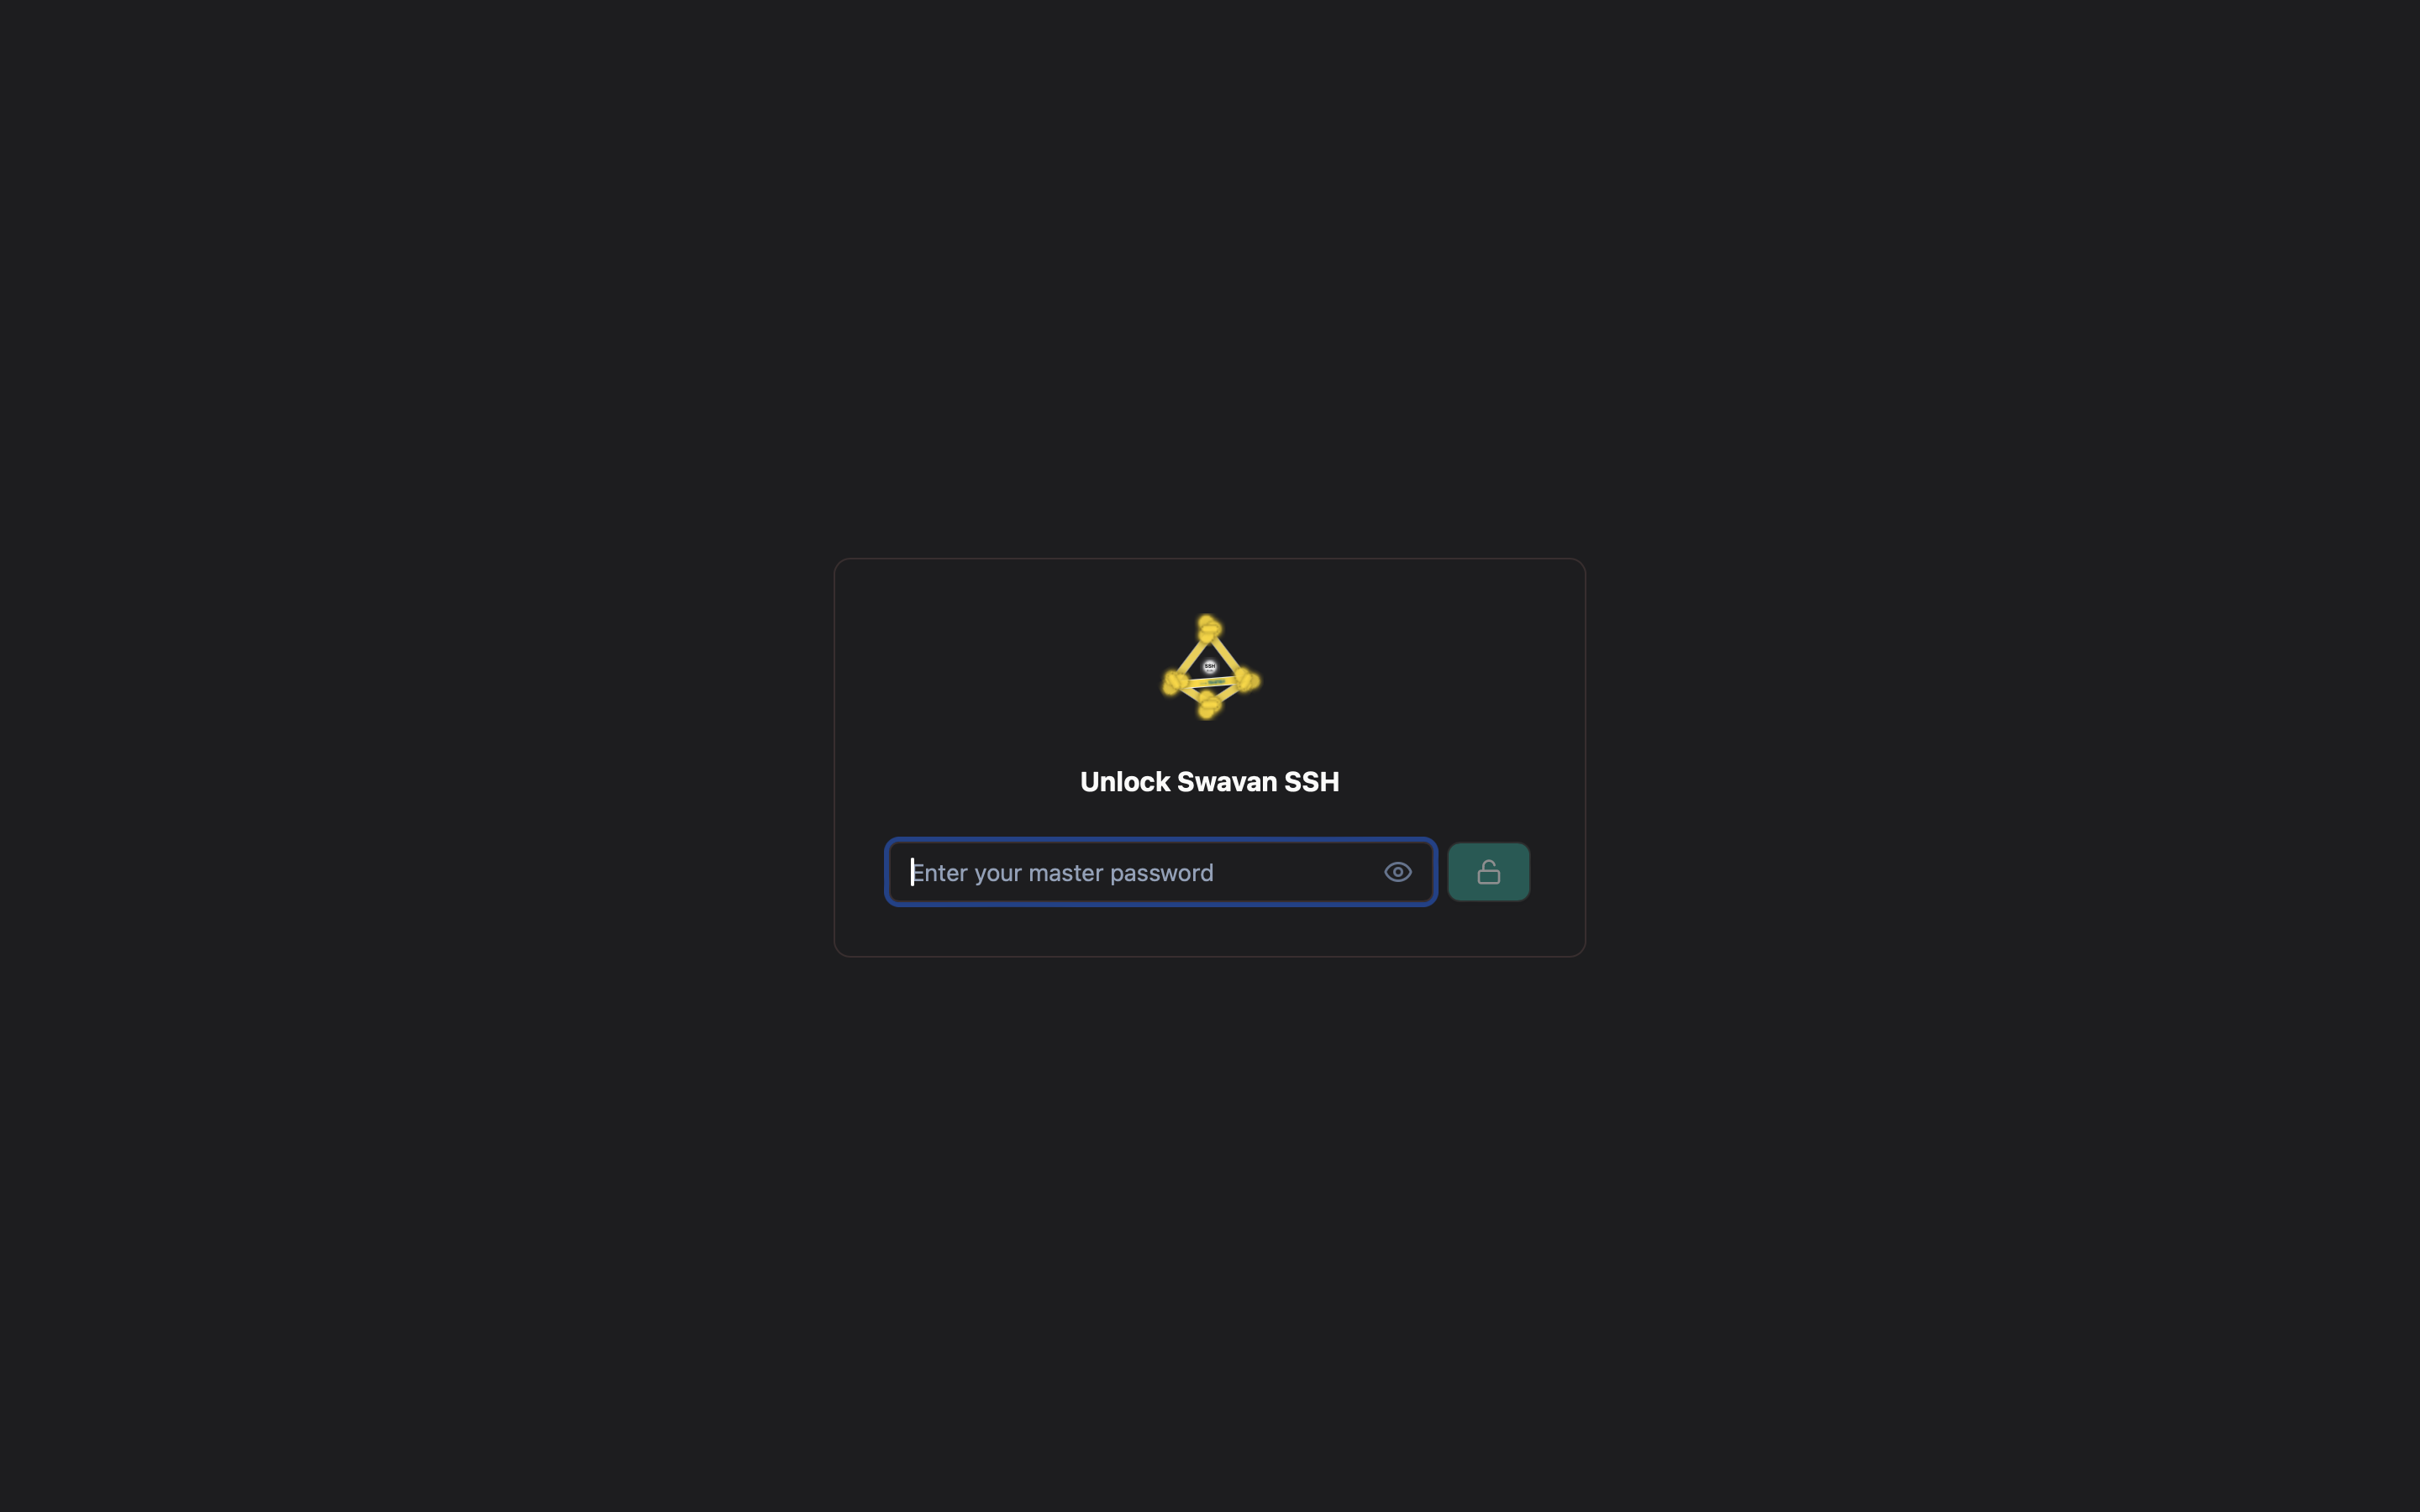
Unlock screen — enter master password to access credentials
[tip]
After unlocking once, you can enable biometric unlock (Touch ID, Face ID, Windows Hello) so future launches require only a fingerprint or face scan. Enable it in Settings → General → Vault Security.
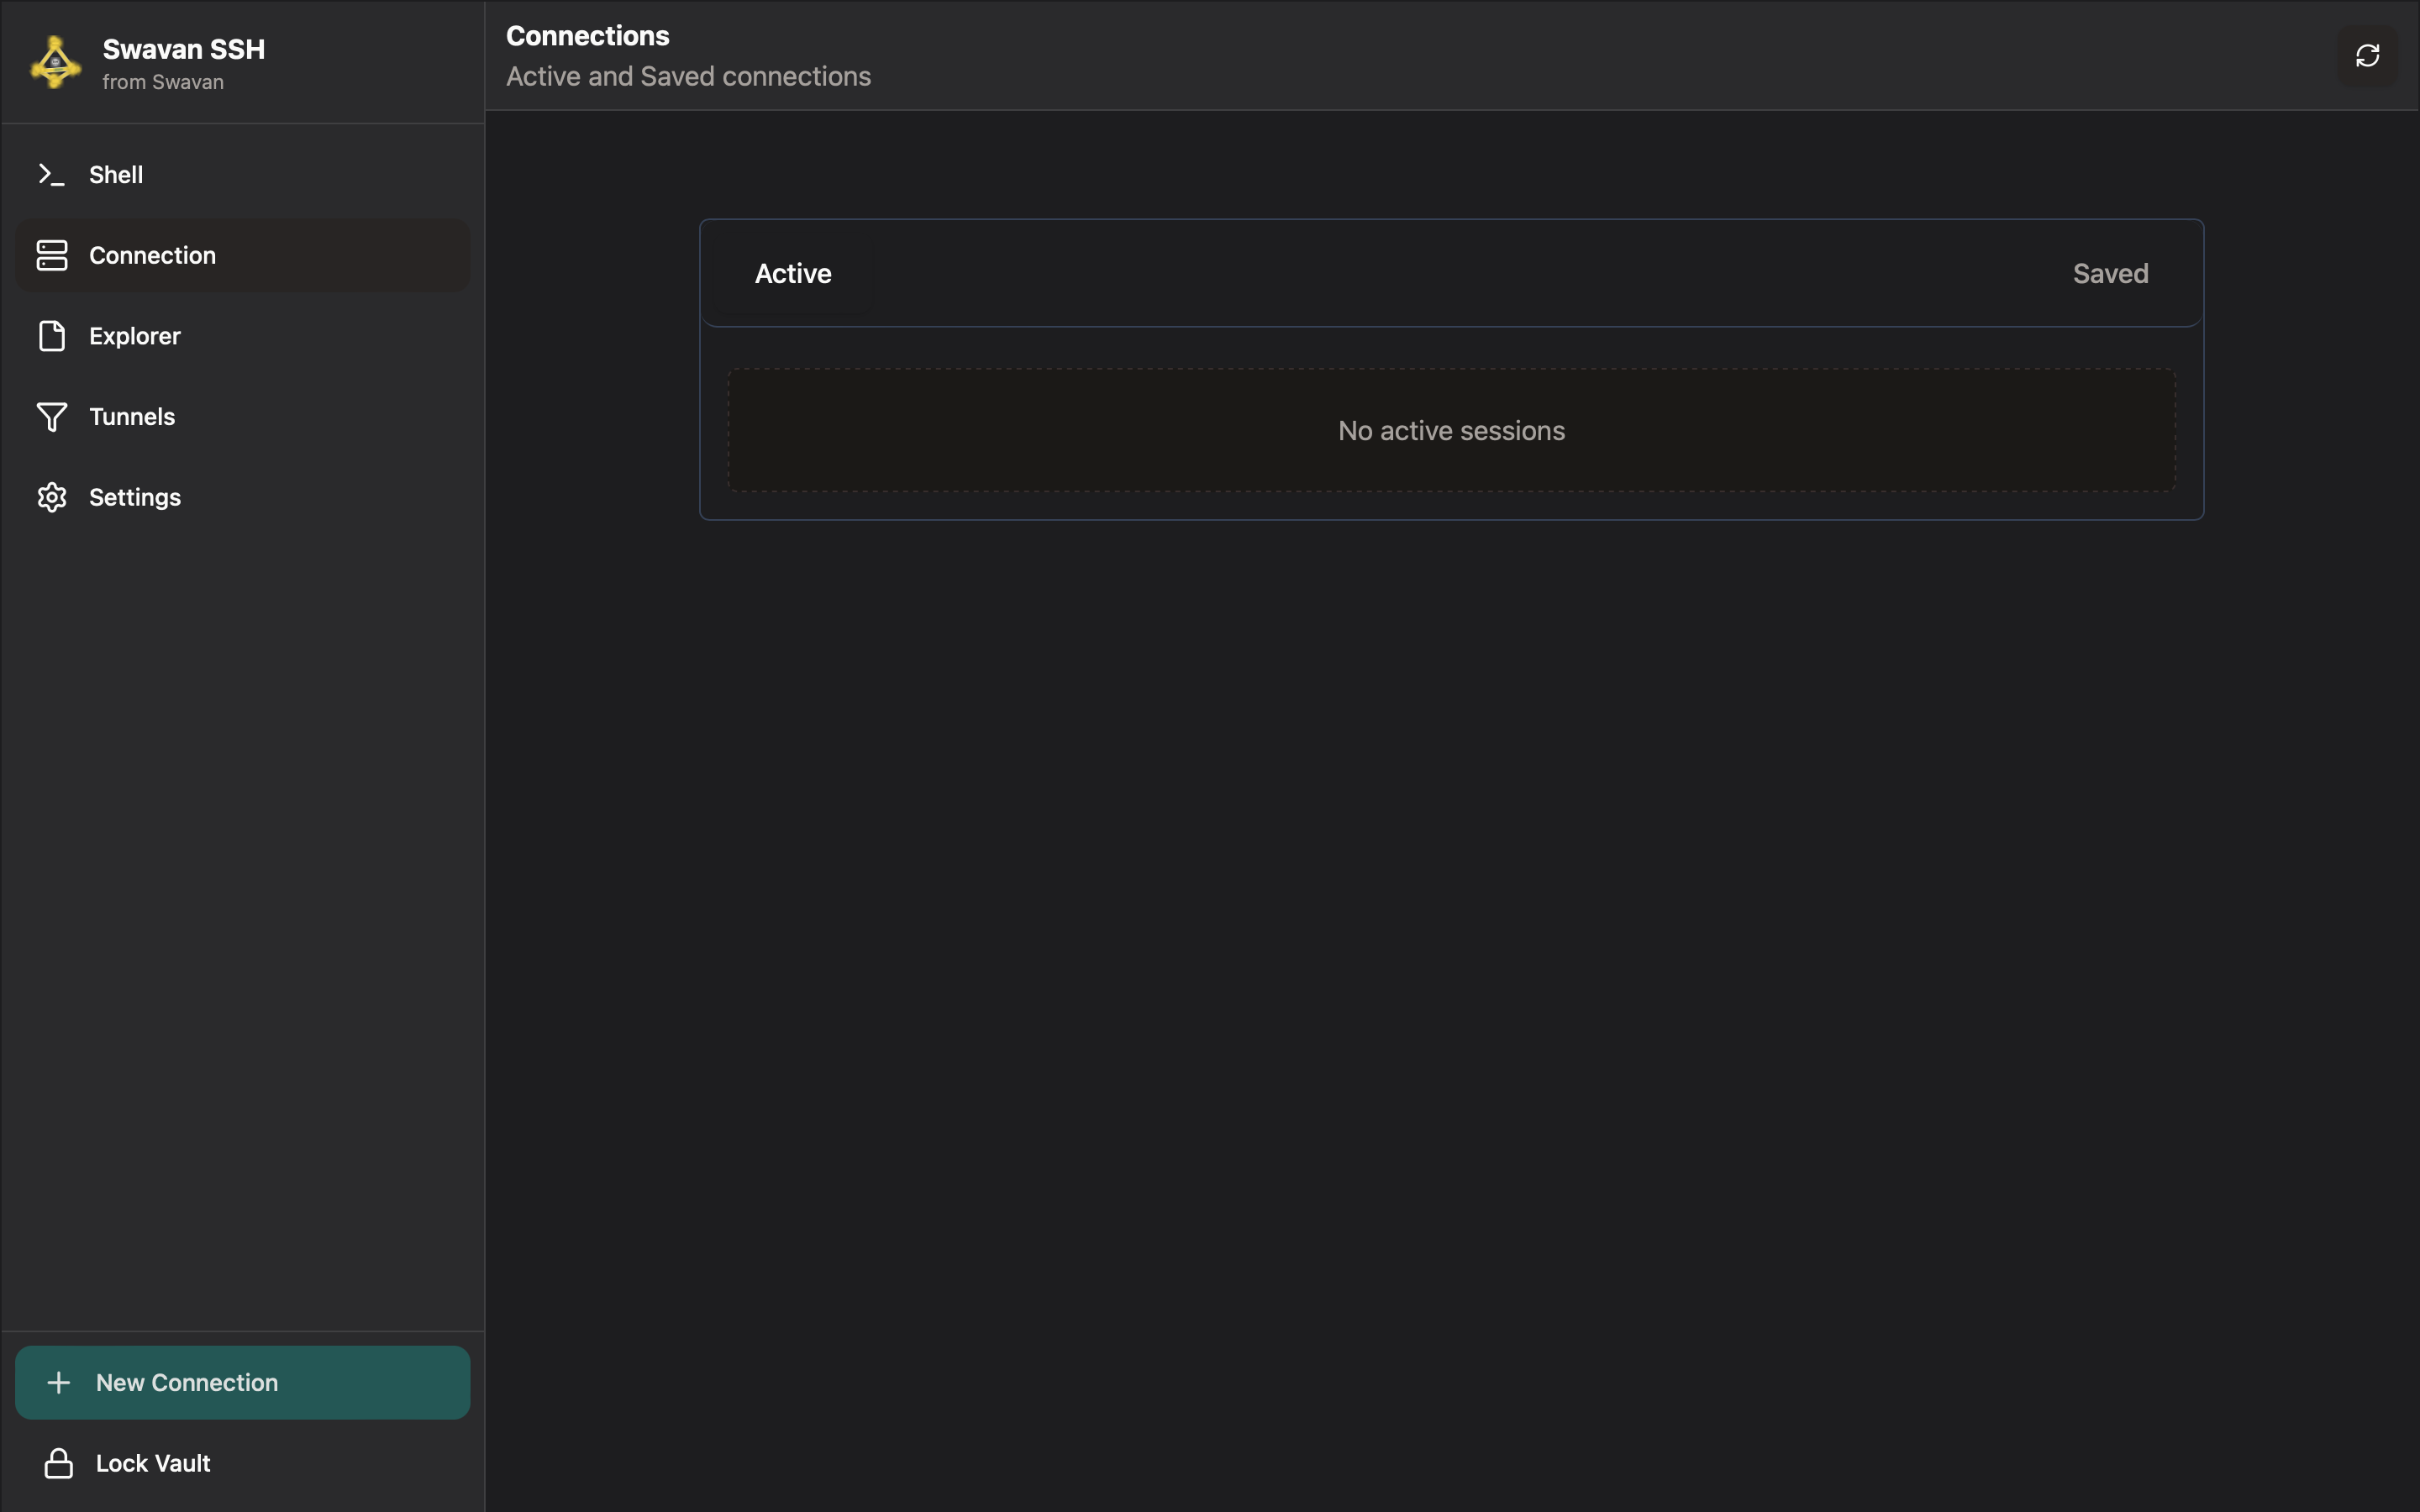
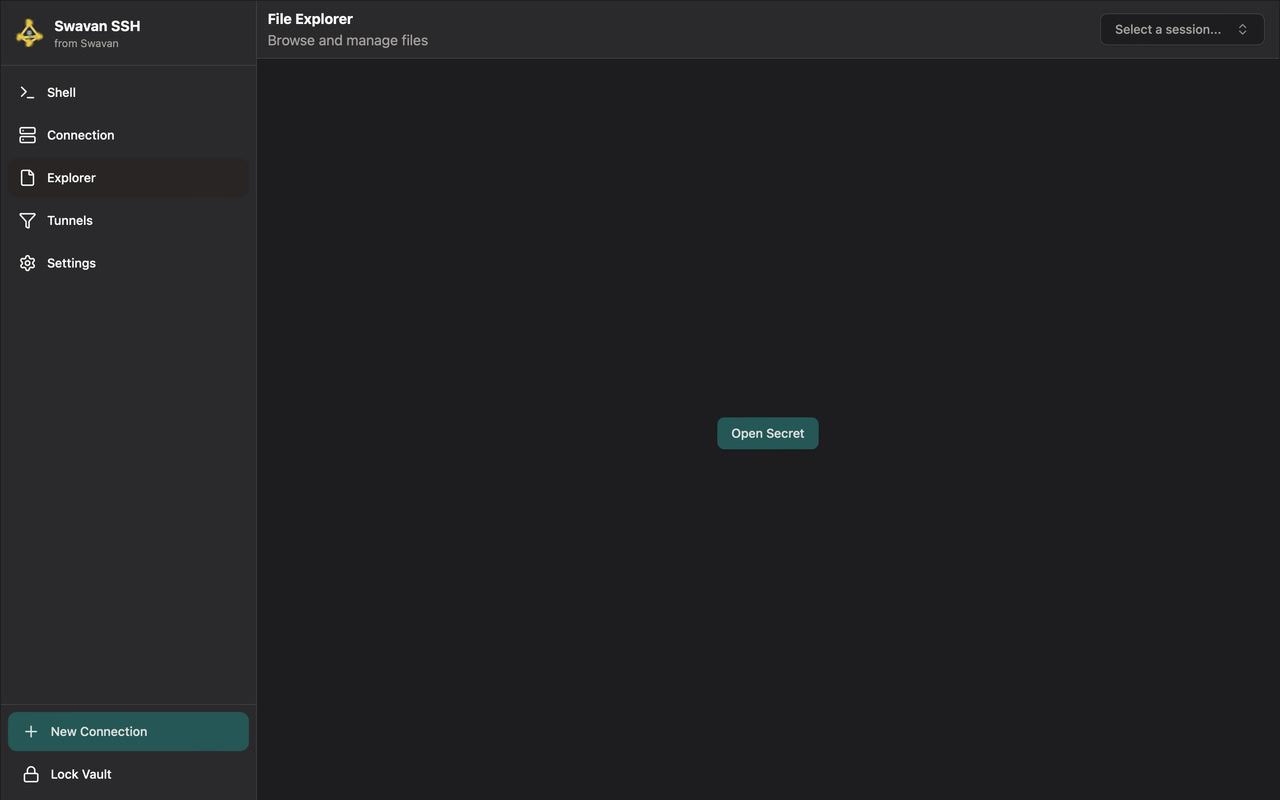
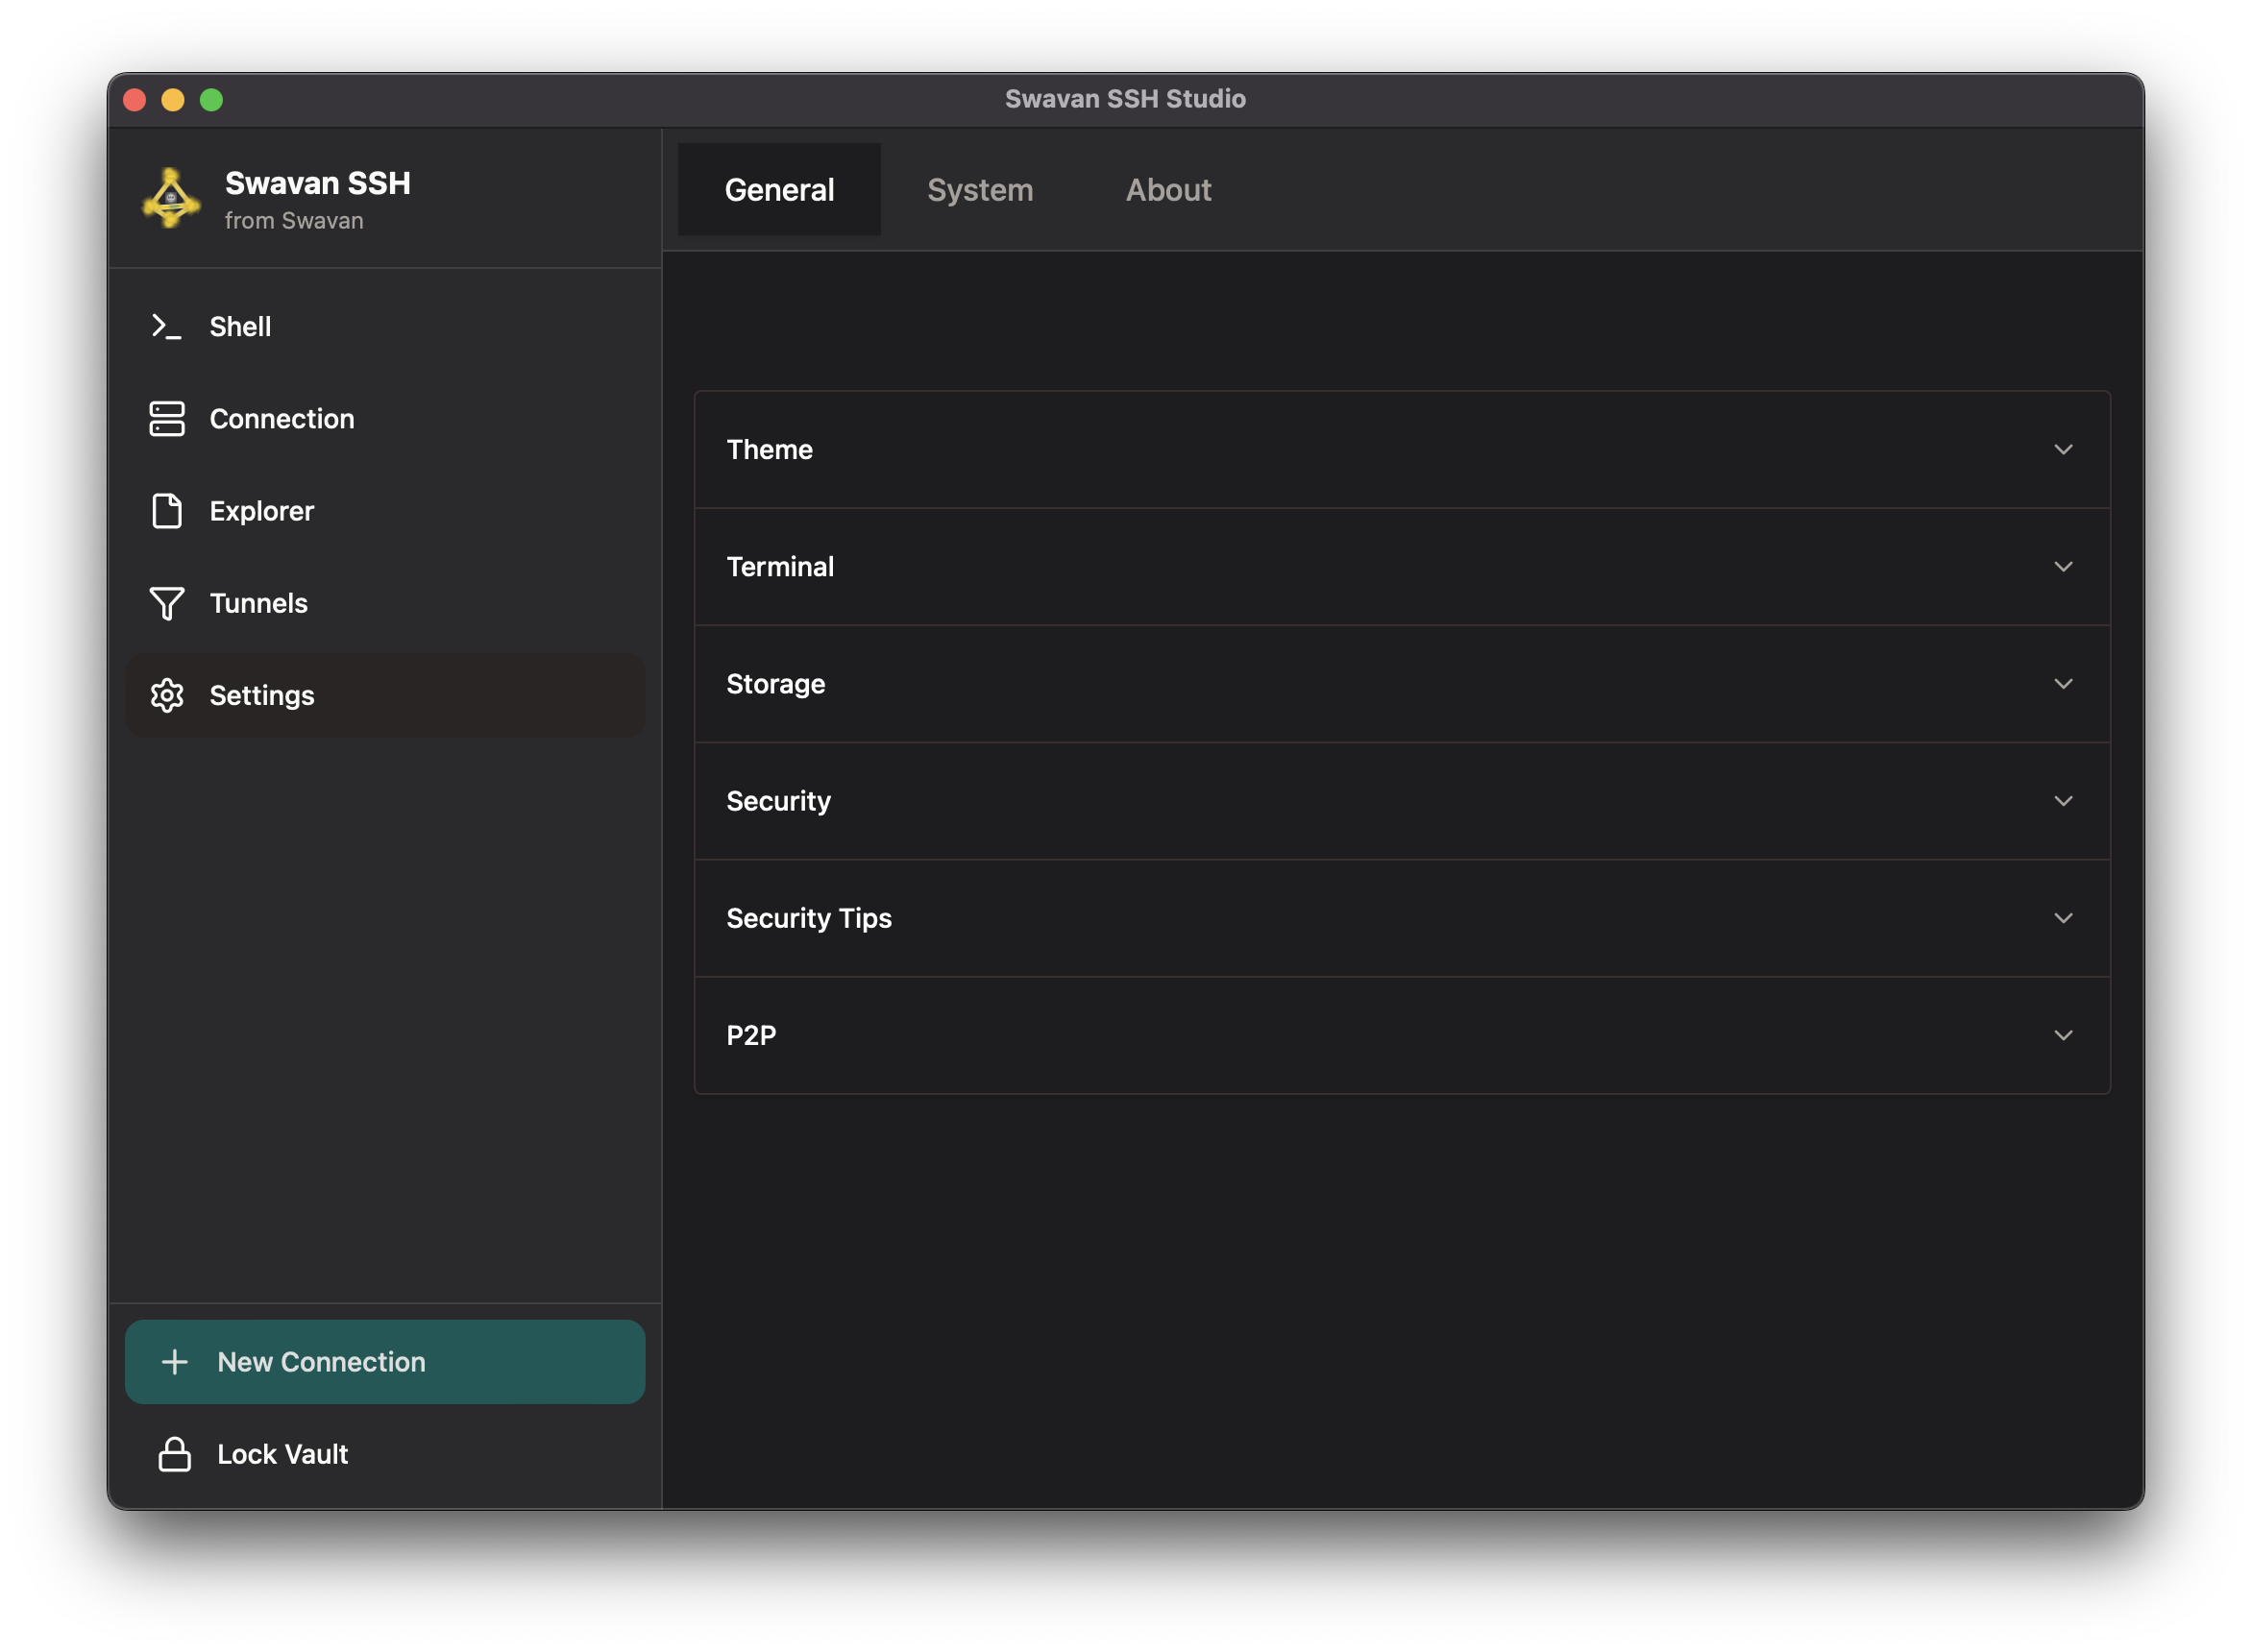
5
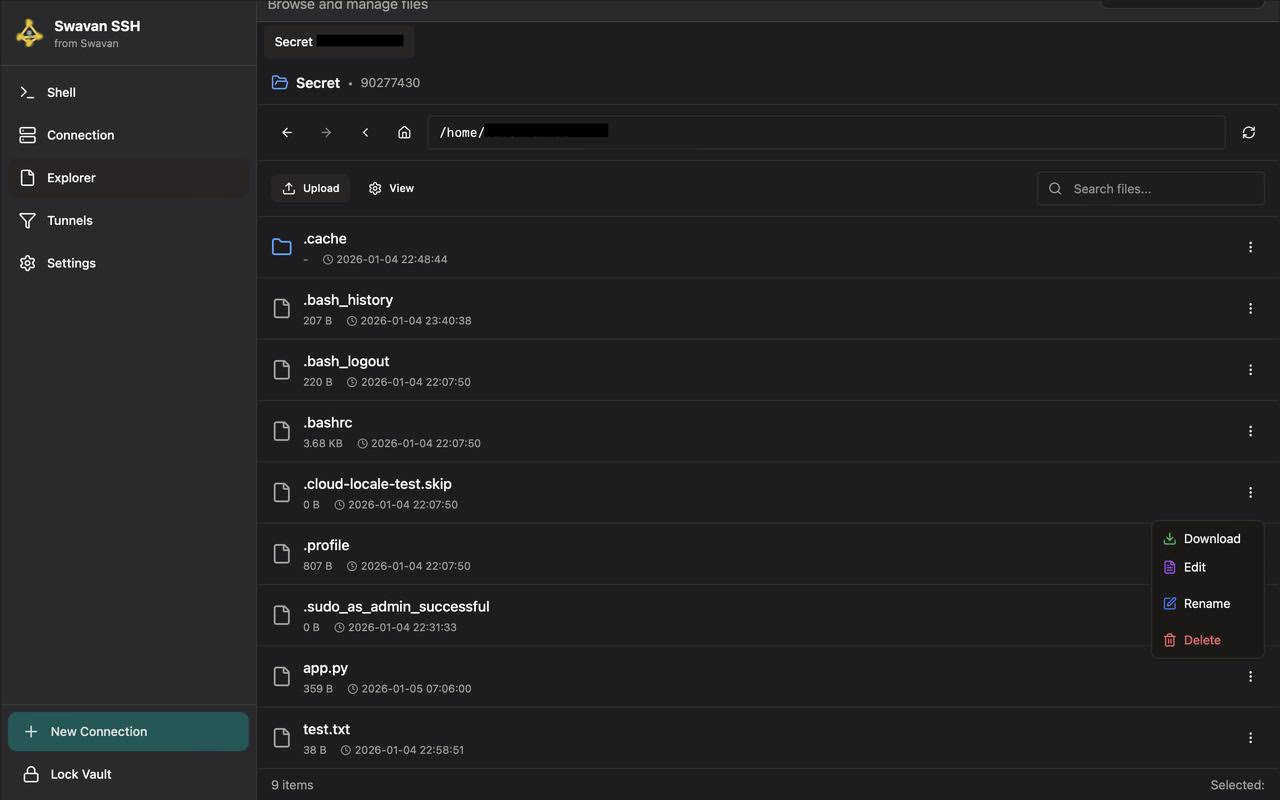
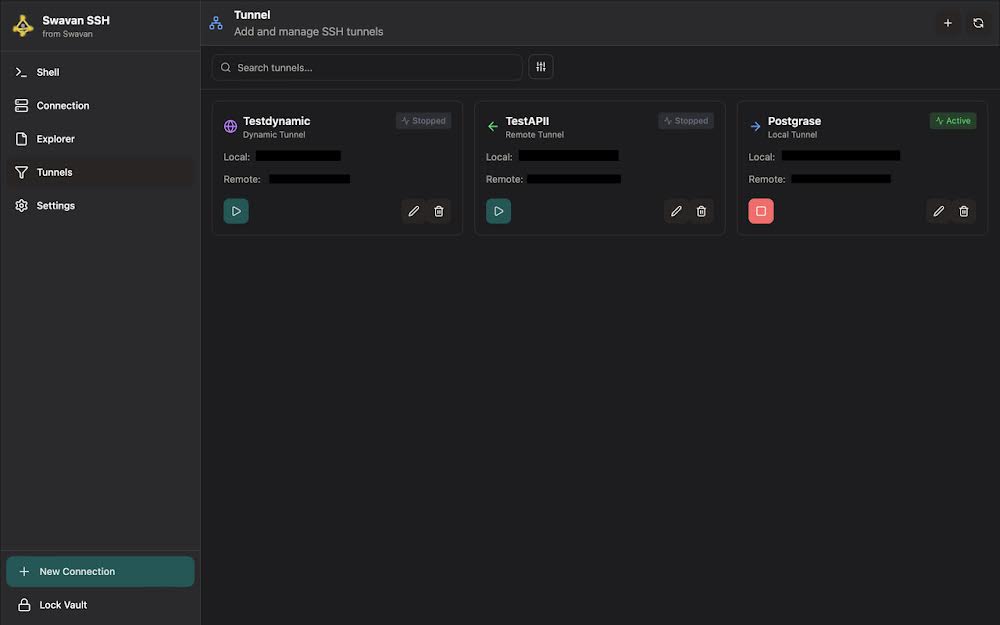
Main application screen
After unlocking you will see the full application. The sidebar gives access to all features.
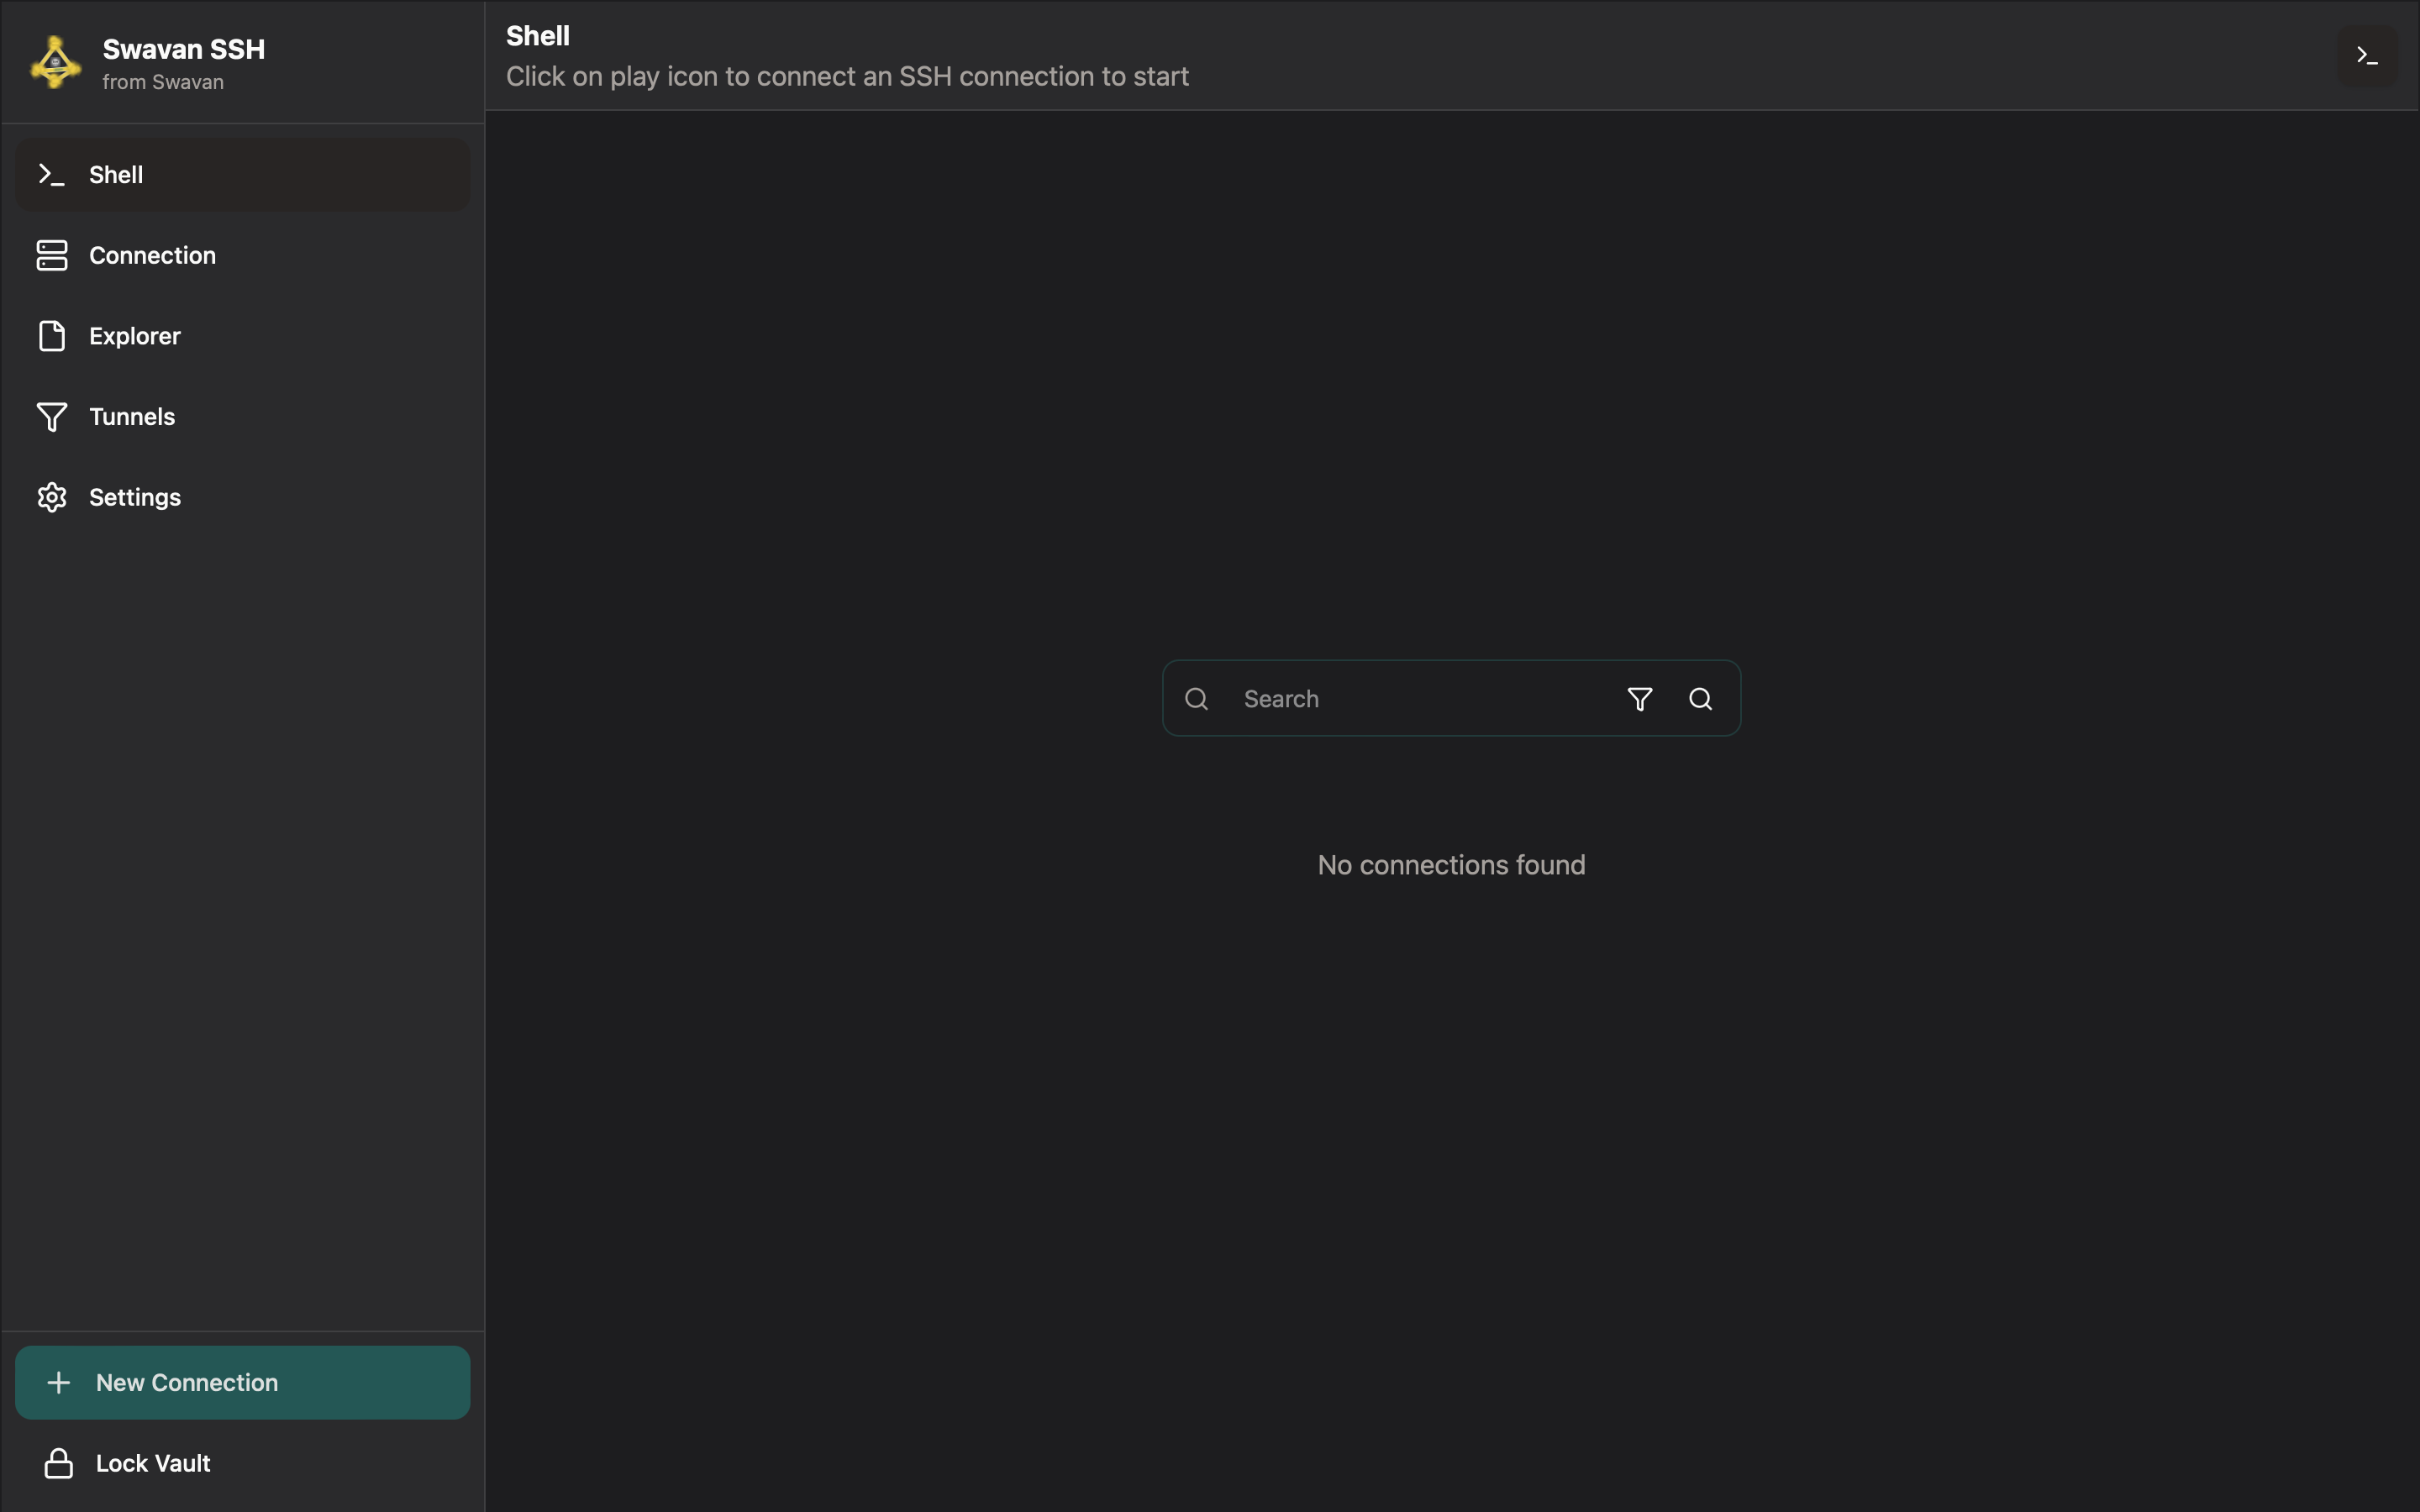
Main screen — sidebar navigation to all features
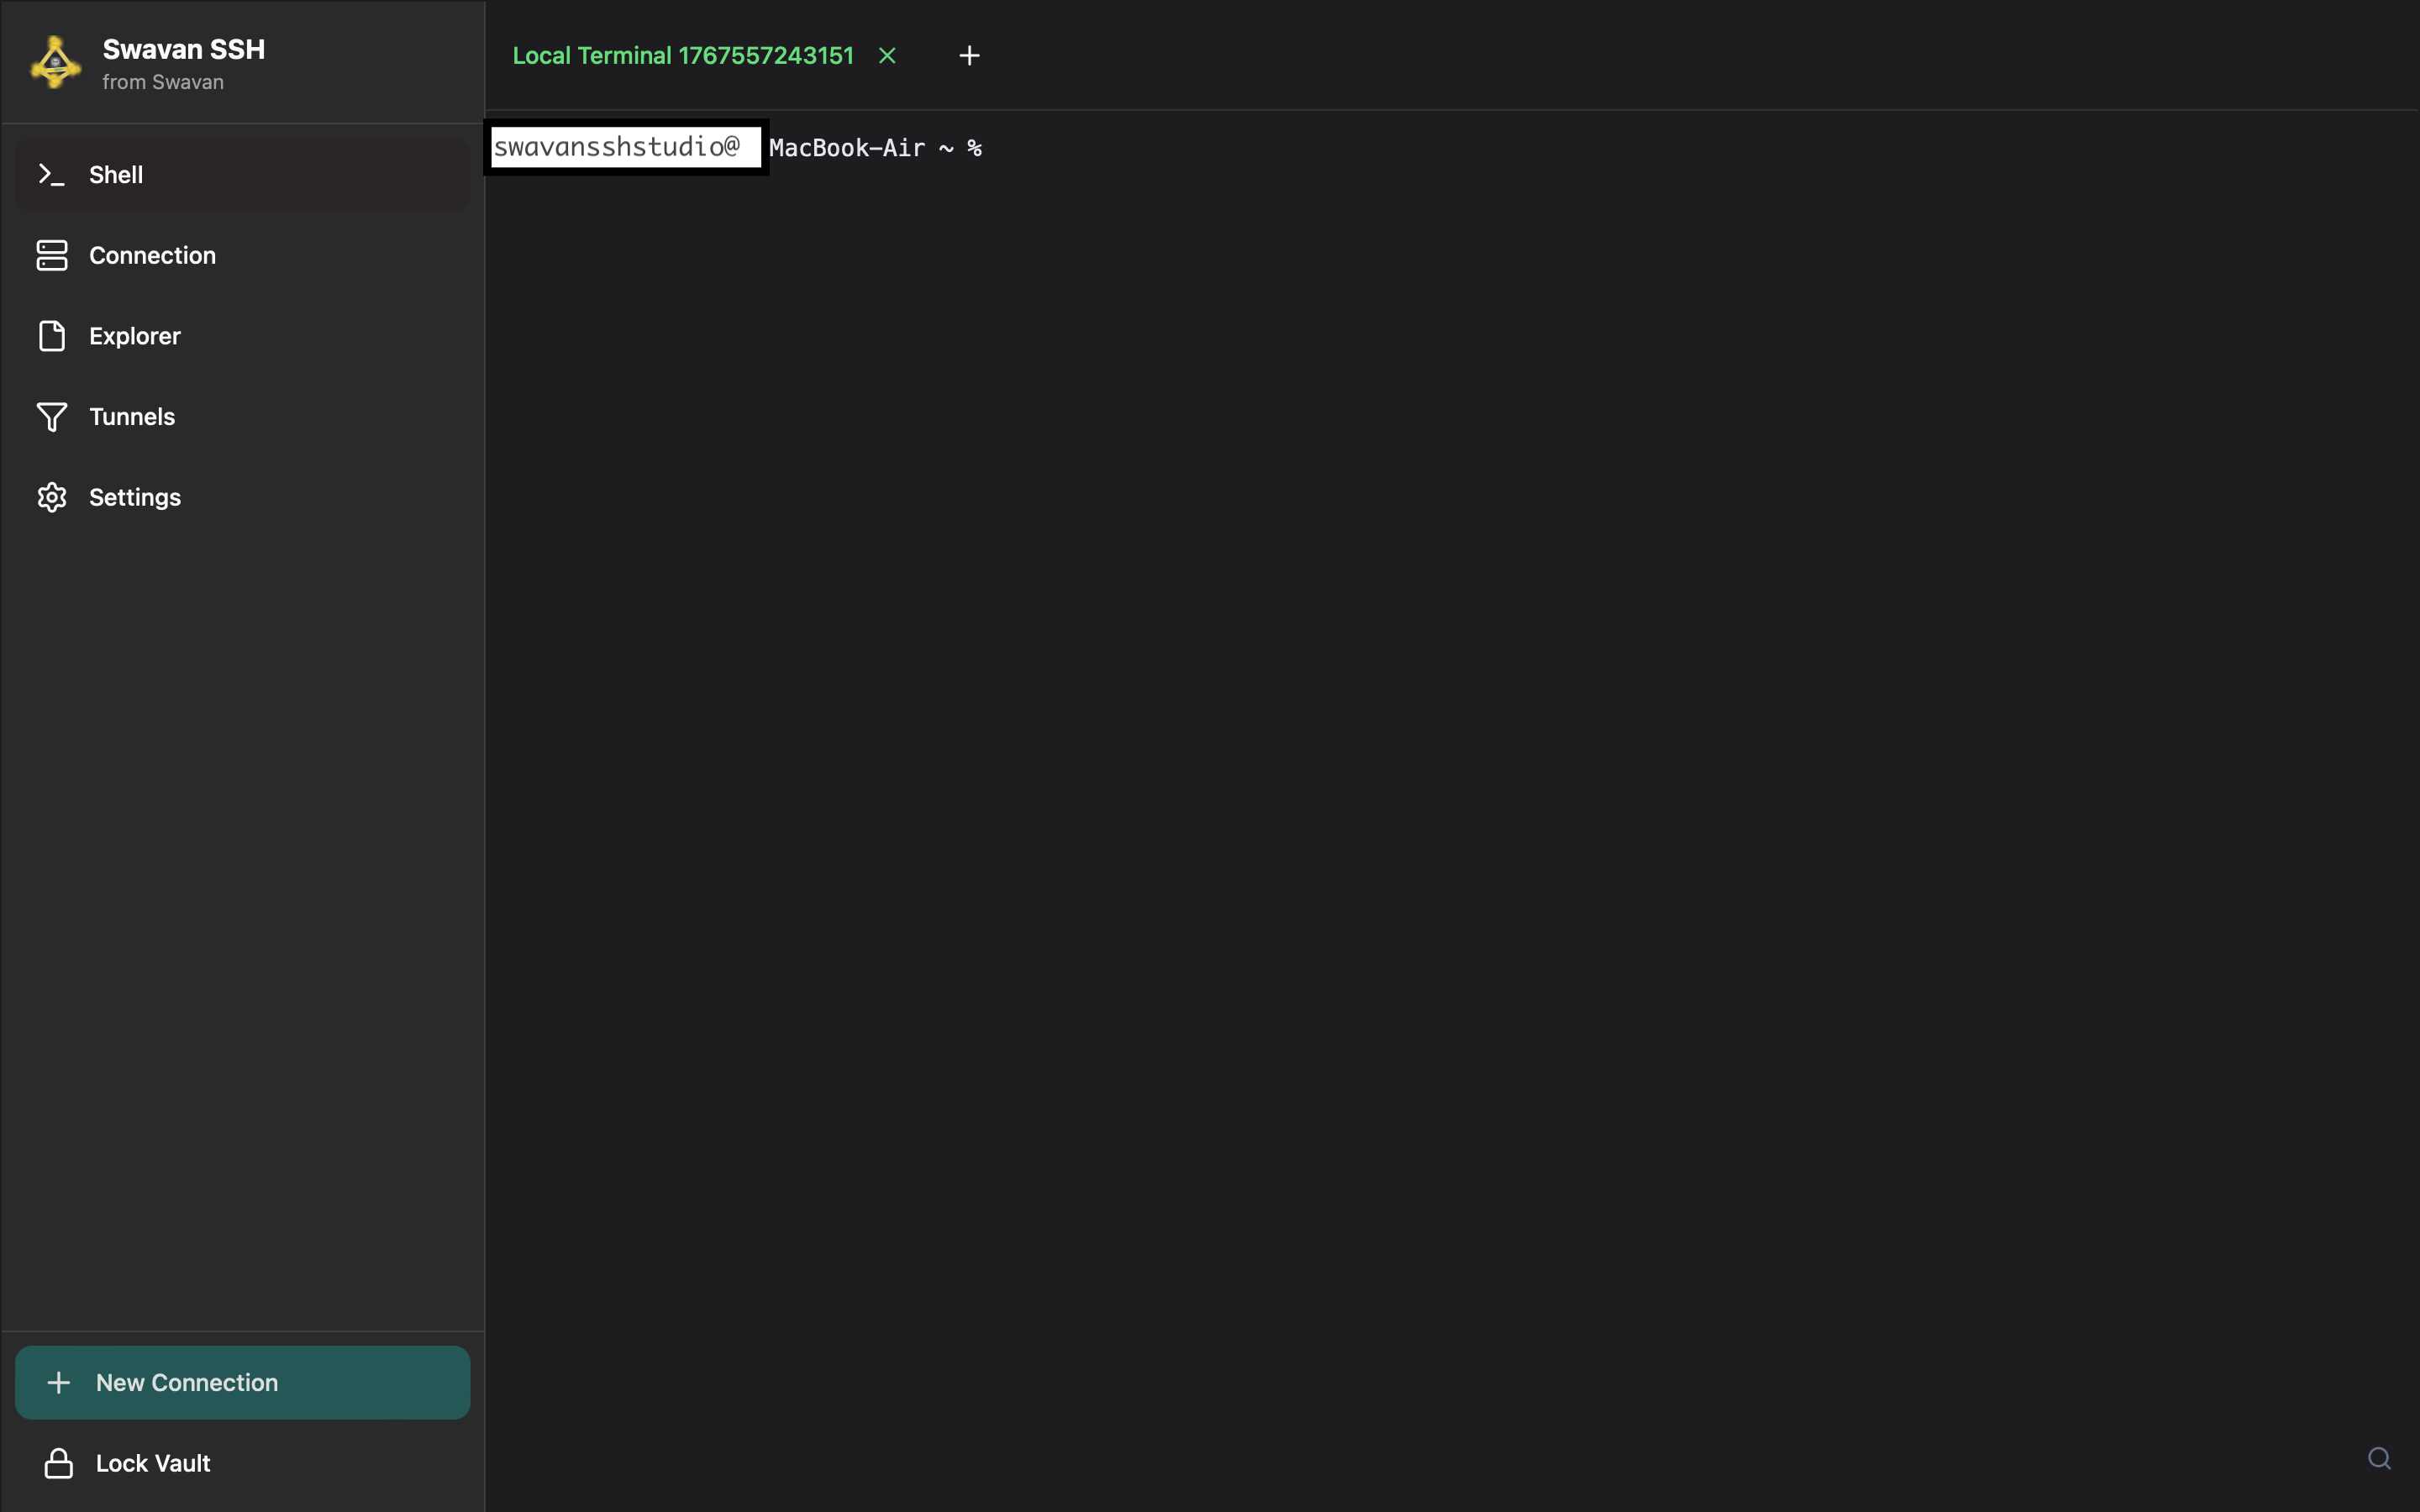
- Terminal icon — multi-tab SSH terminal sessions
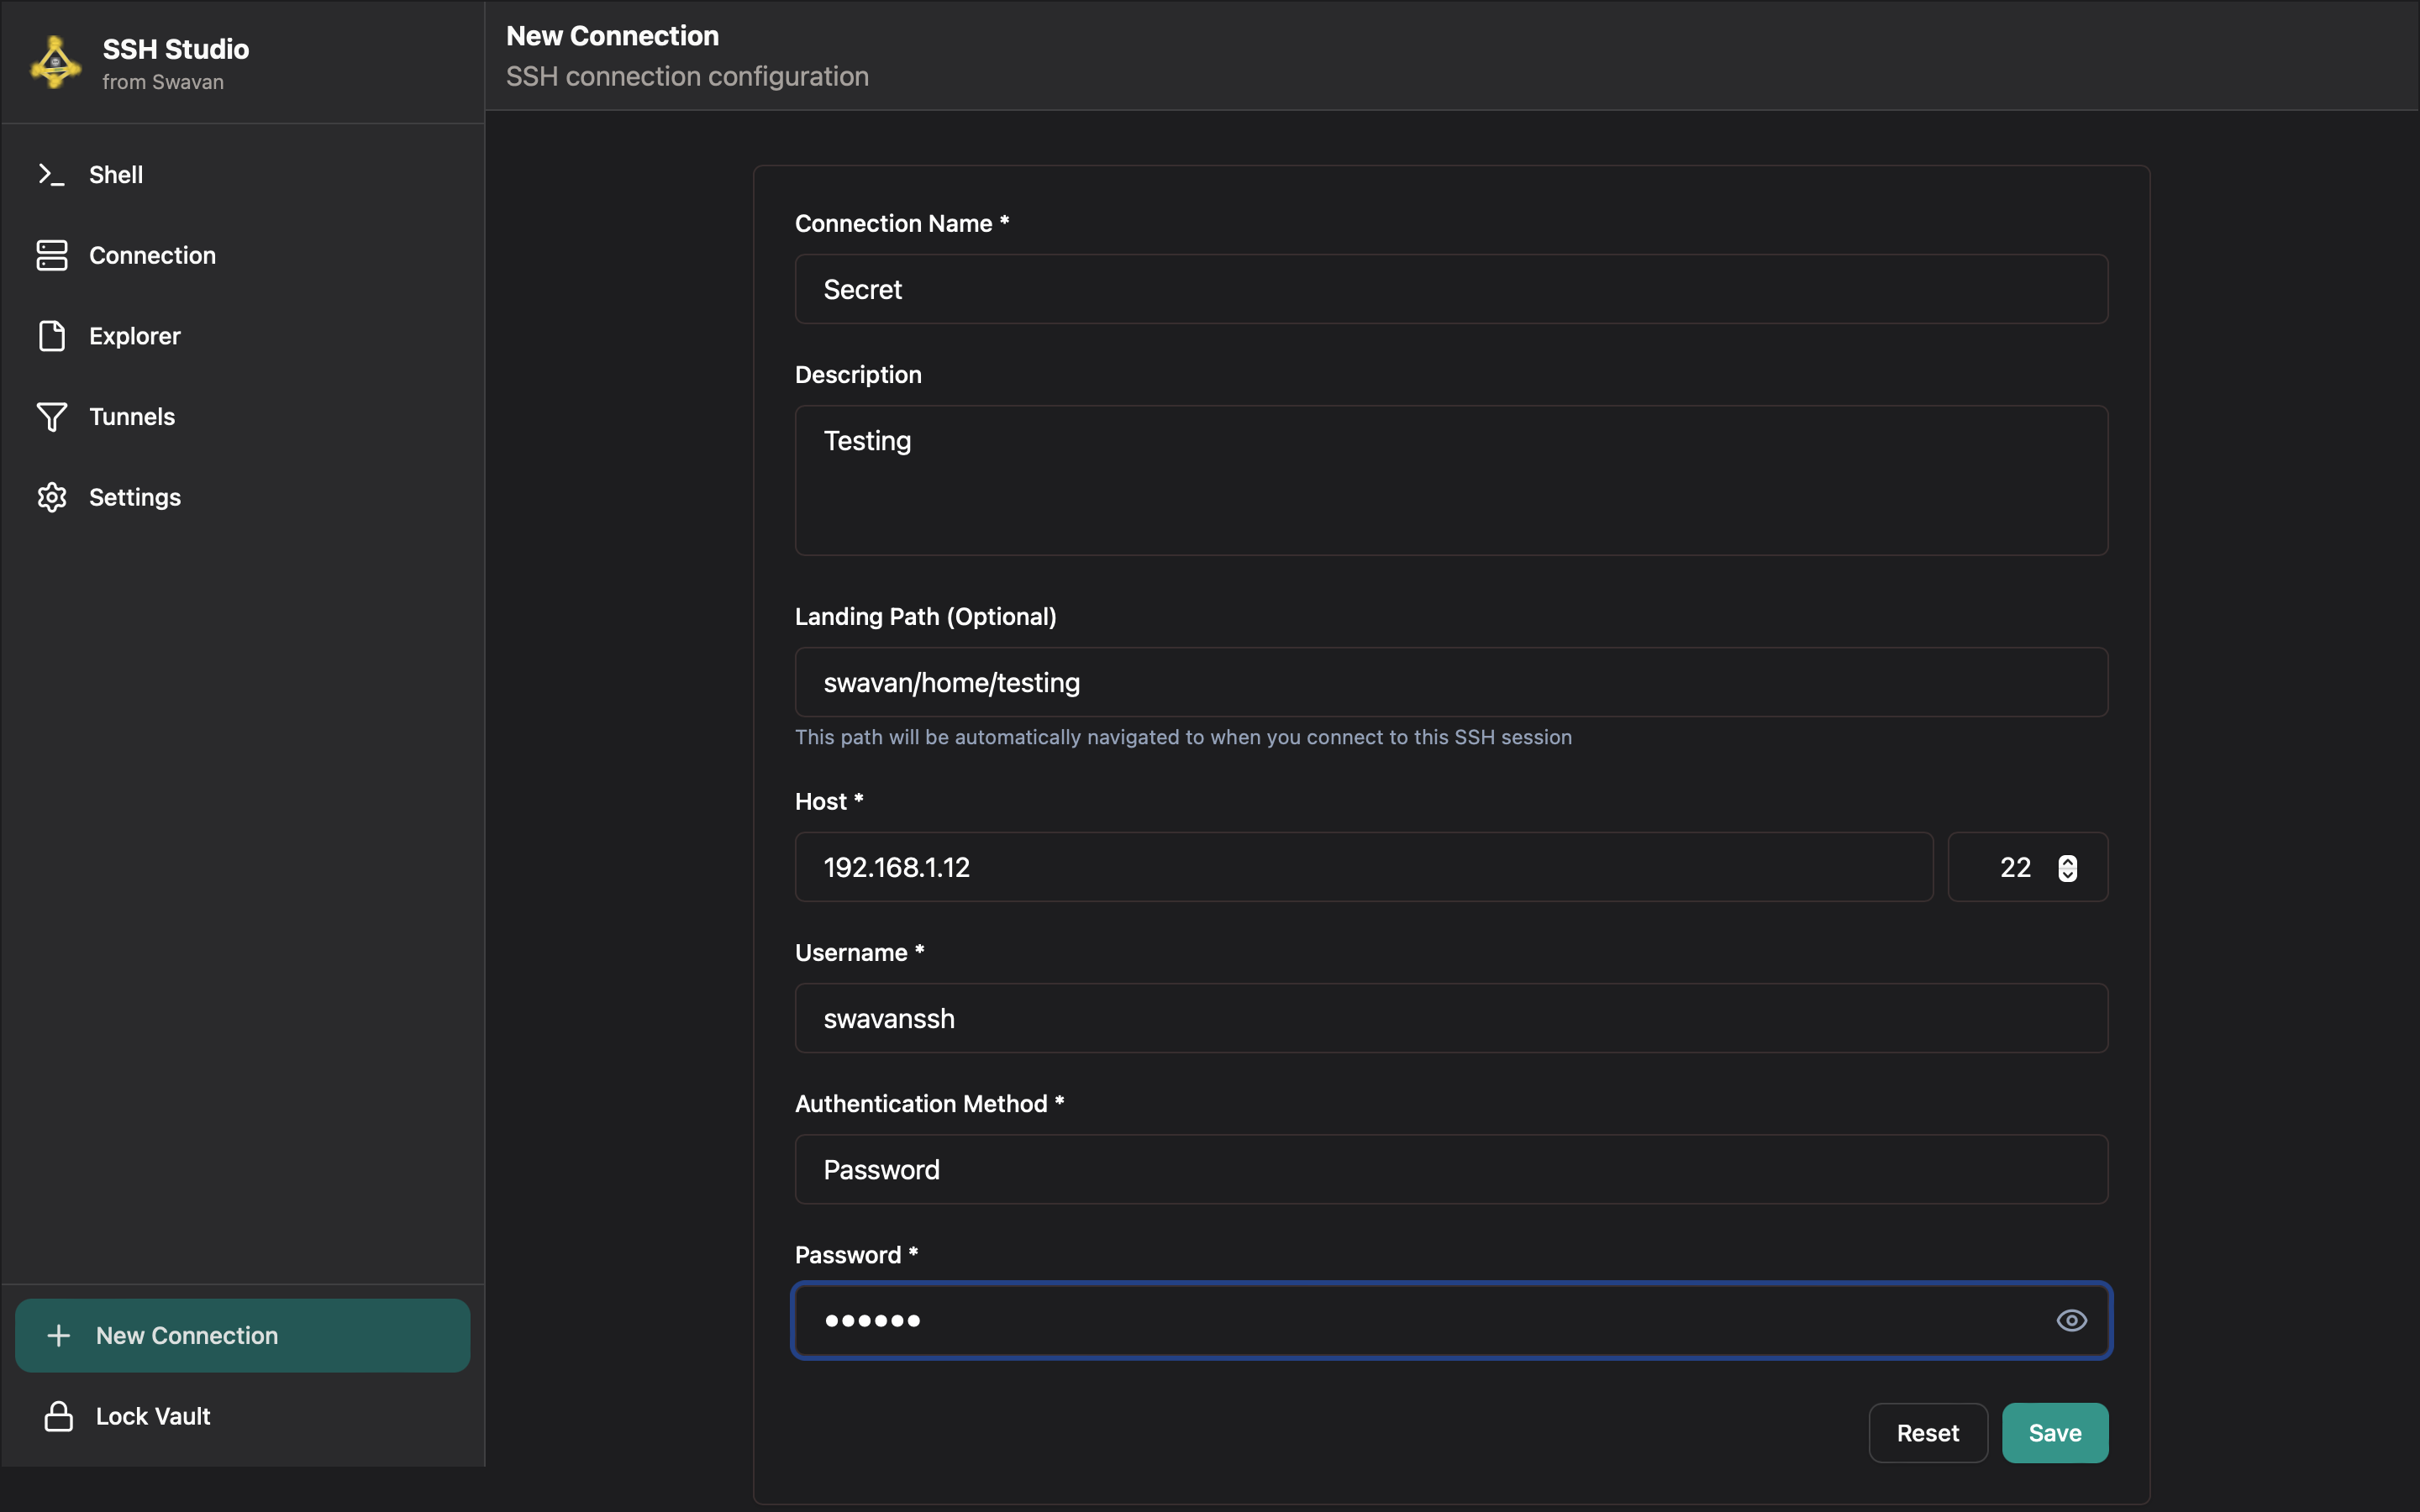
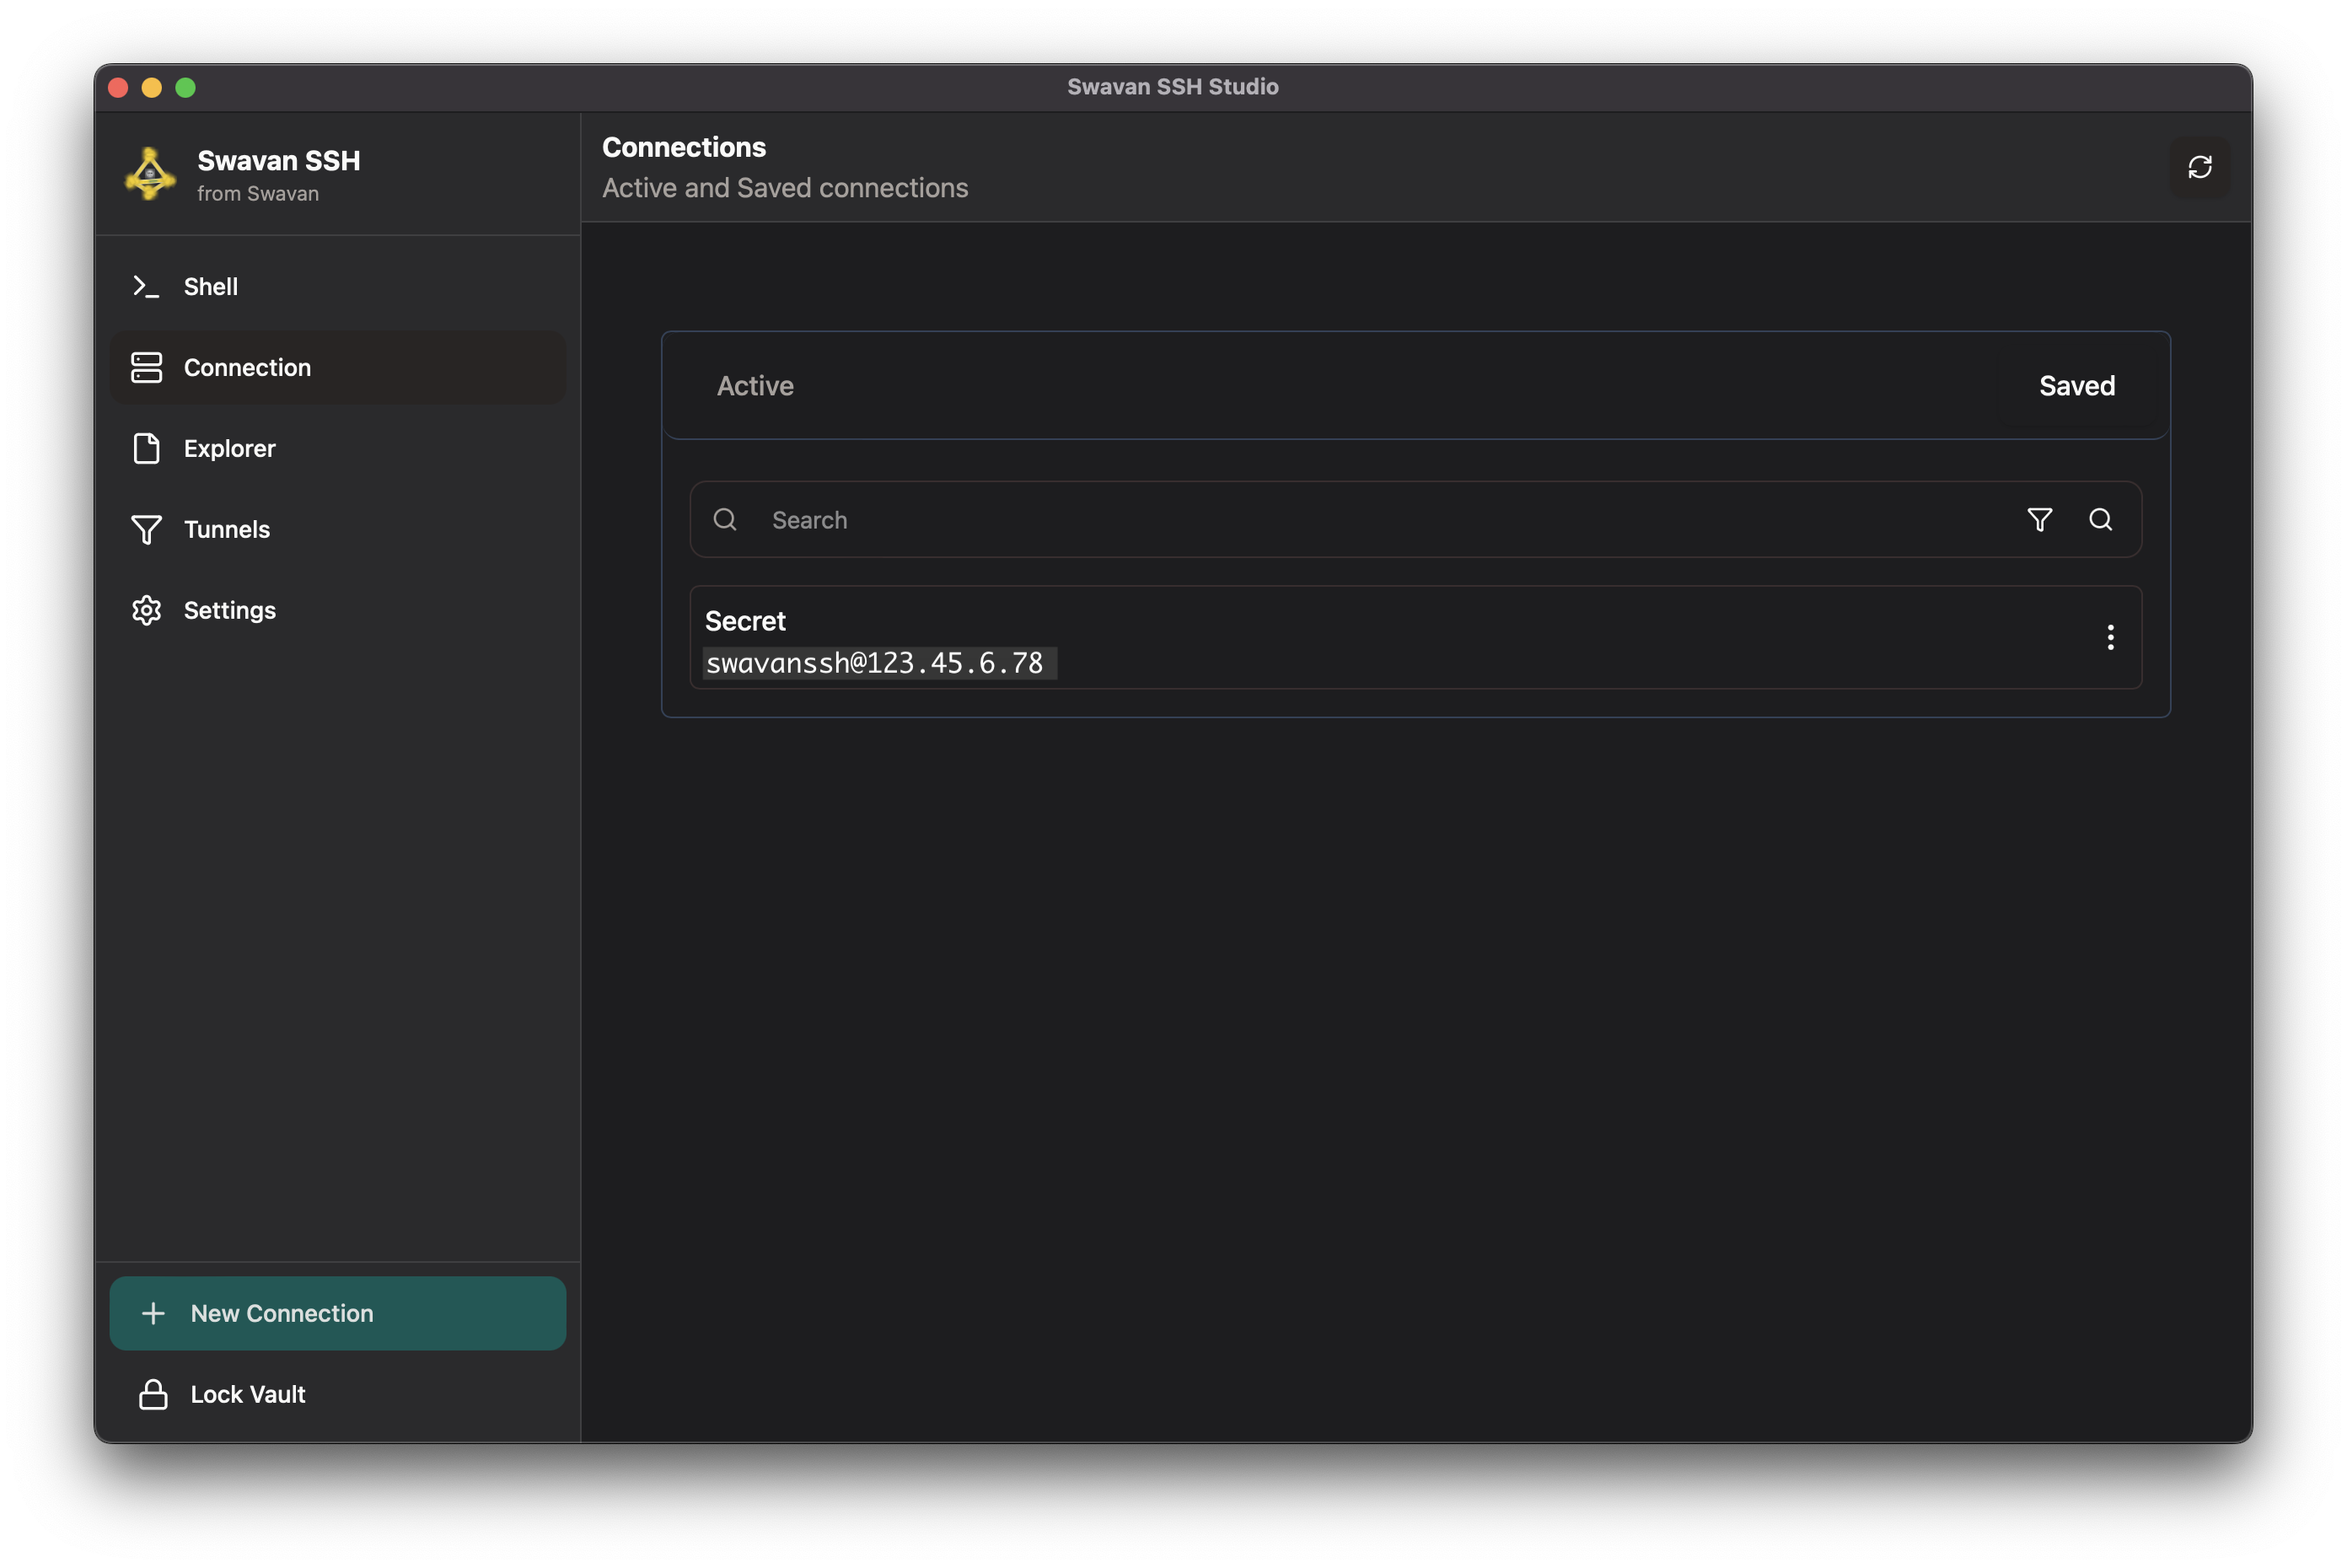
- Connections icon — manage saved SSH connections
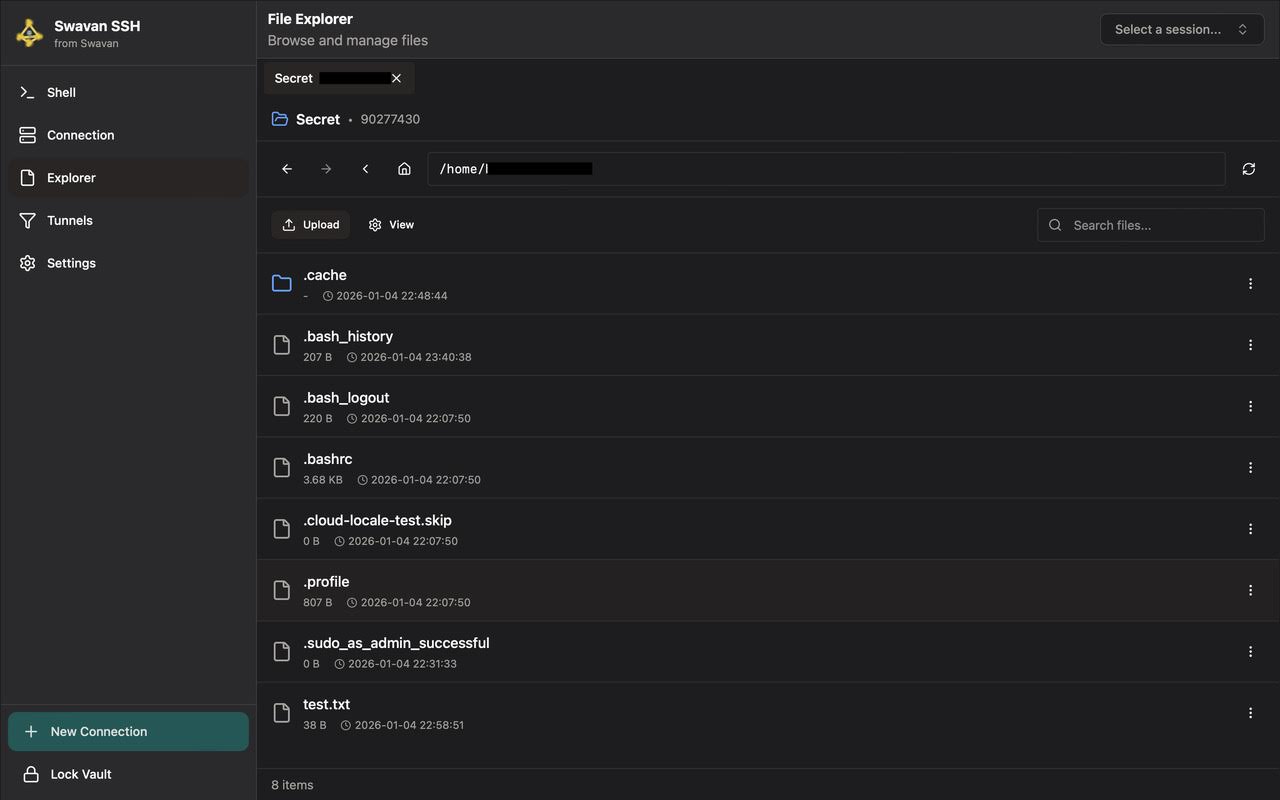
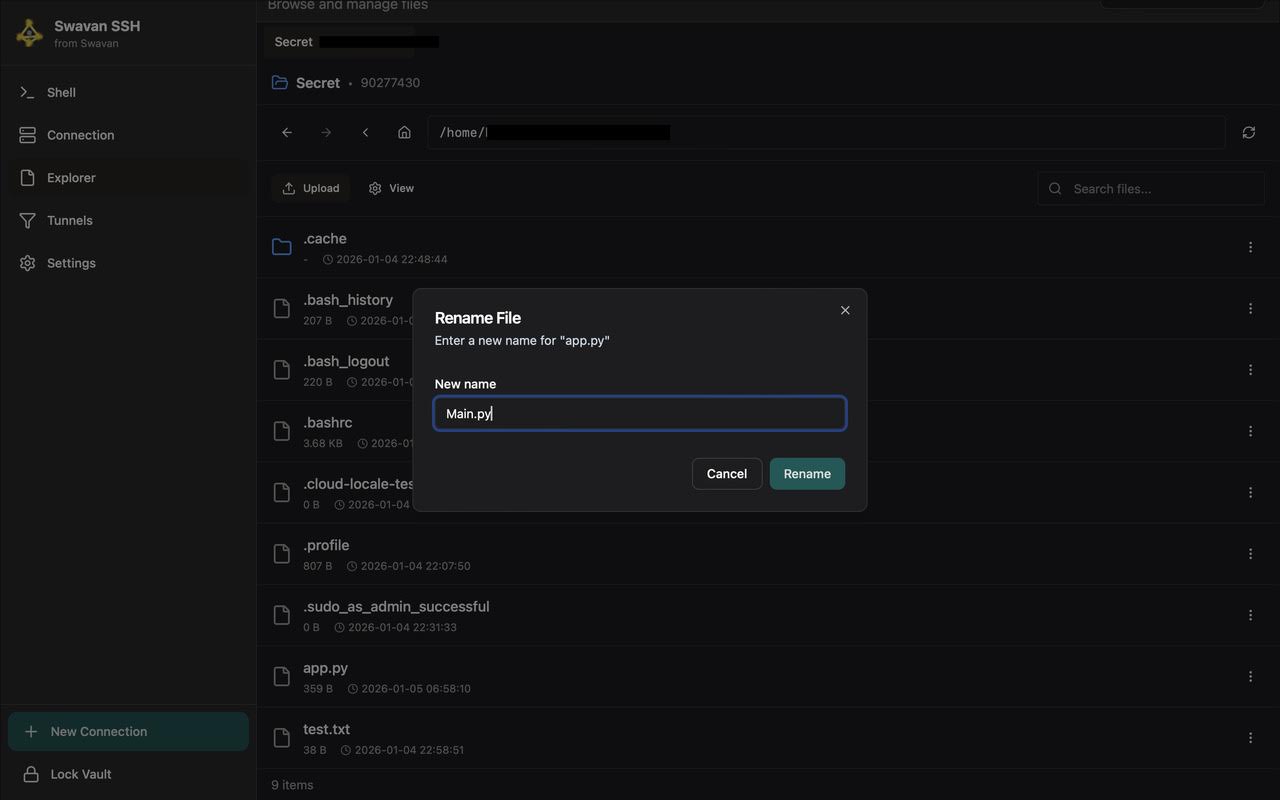
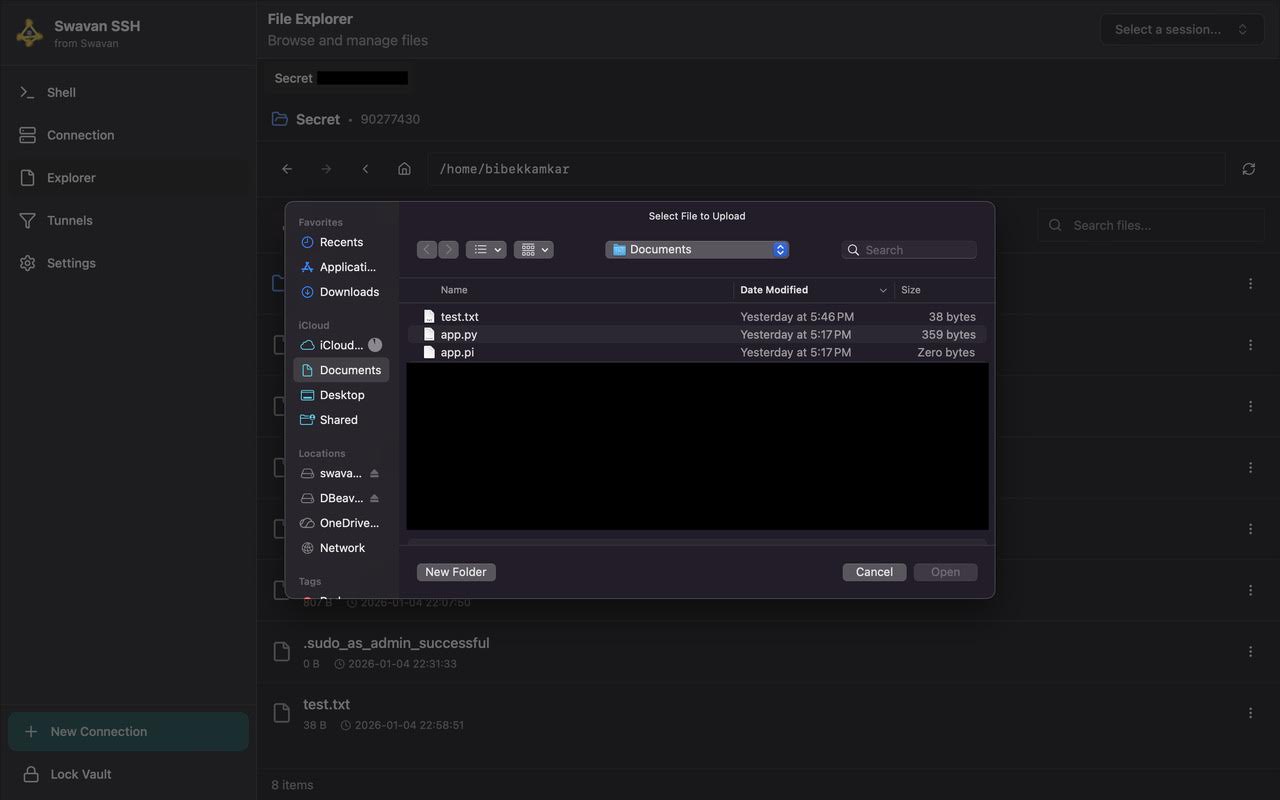
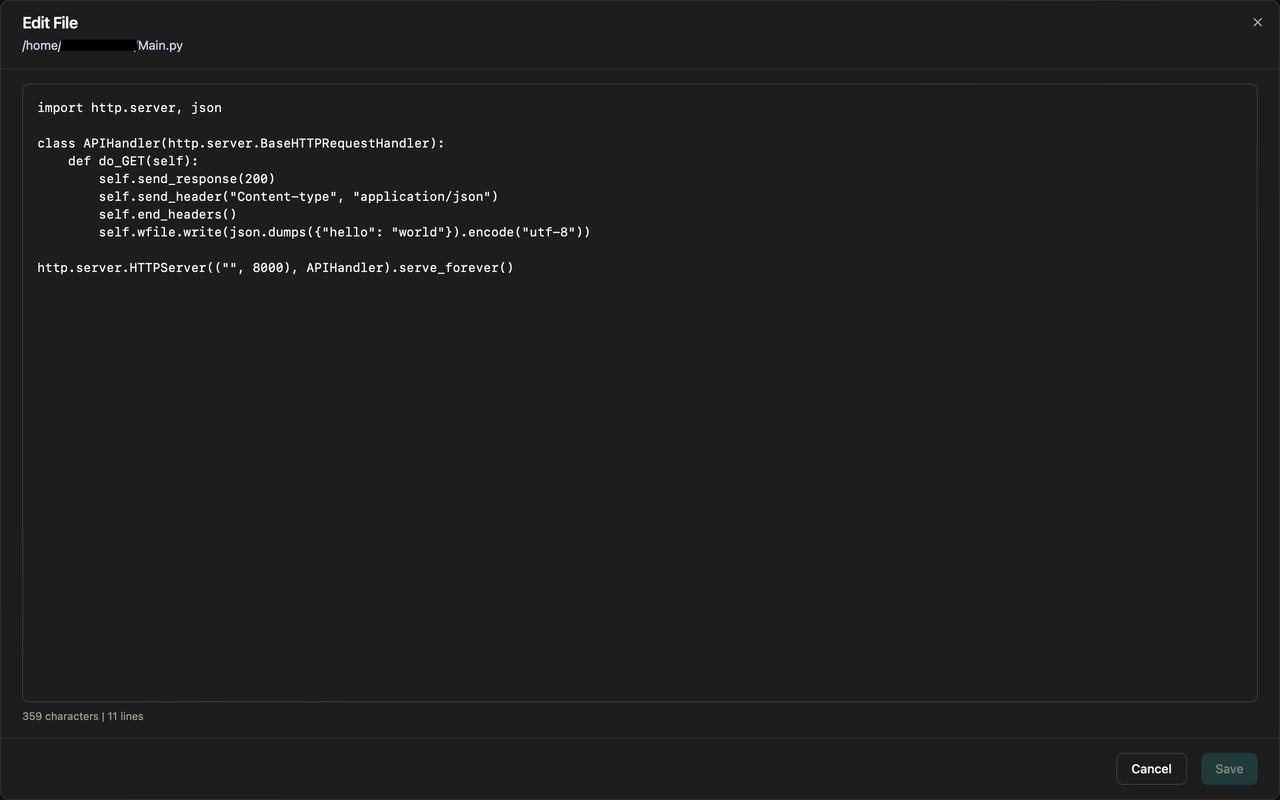
- Explorer icon — remote file browser and editor
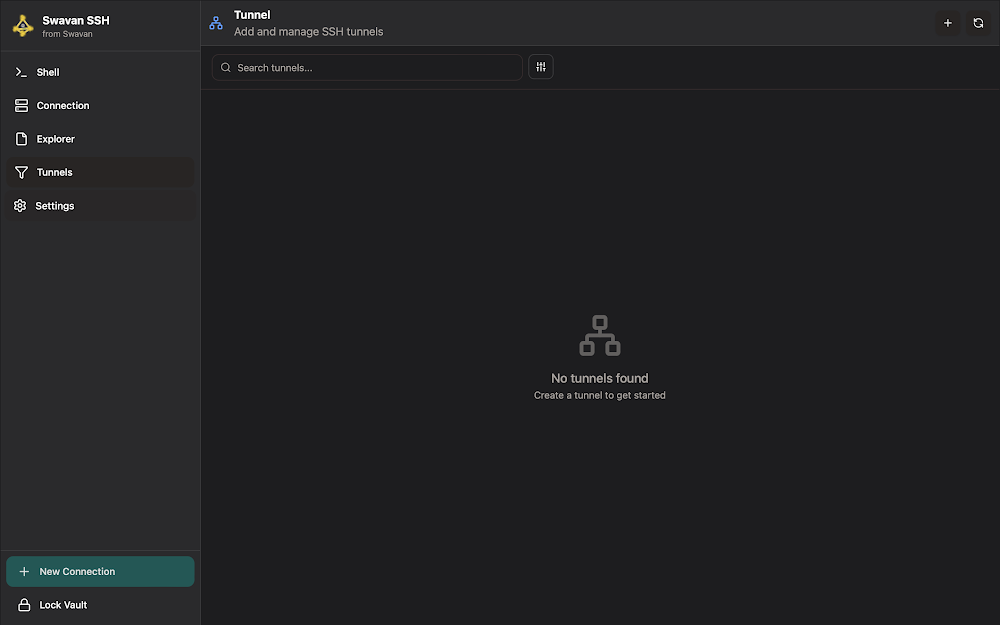
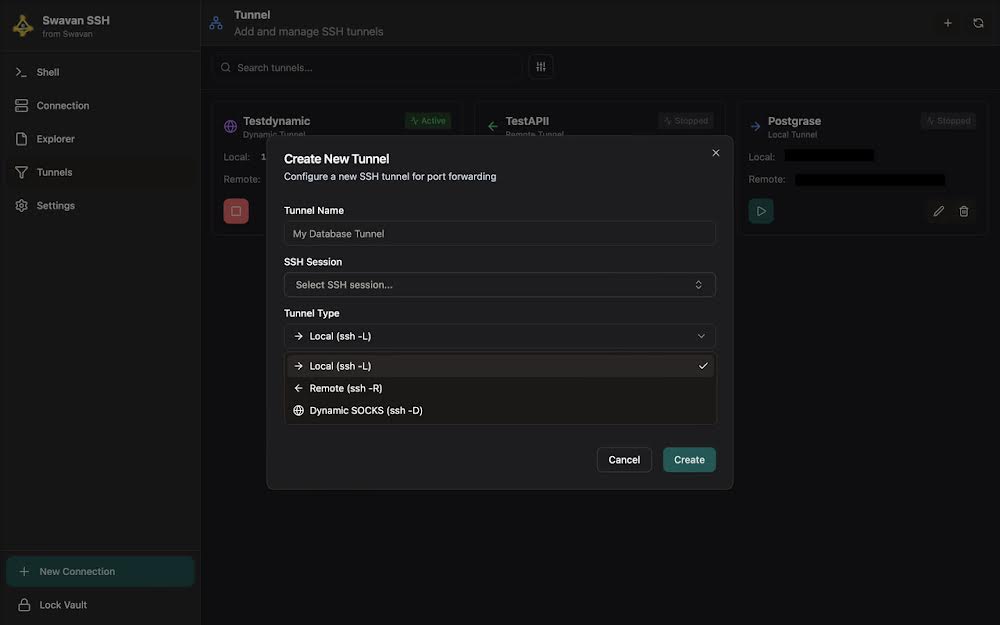
- Tunnels icon — SSH port forwarding and SOCKS proxy
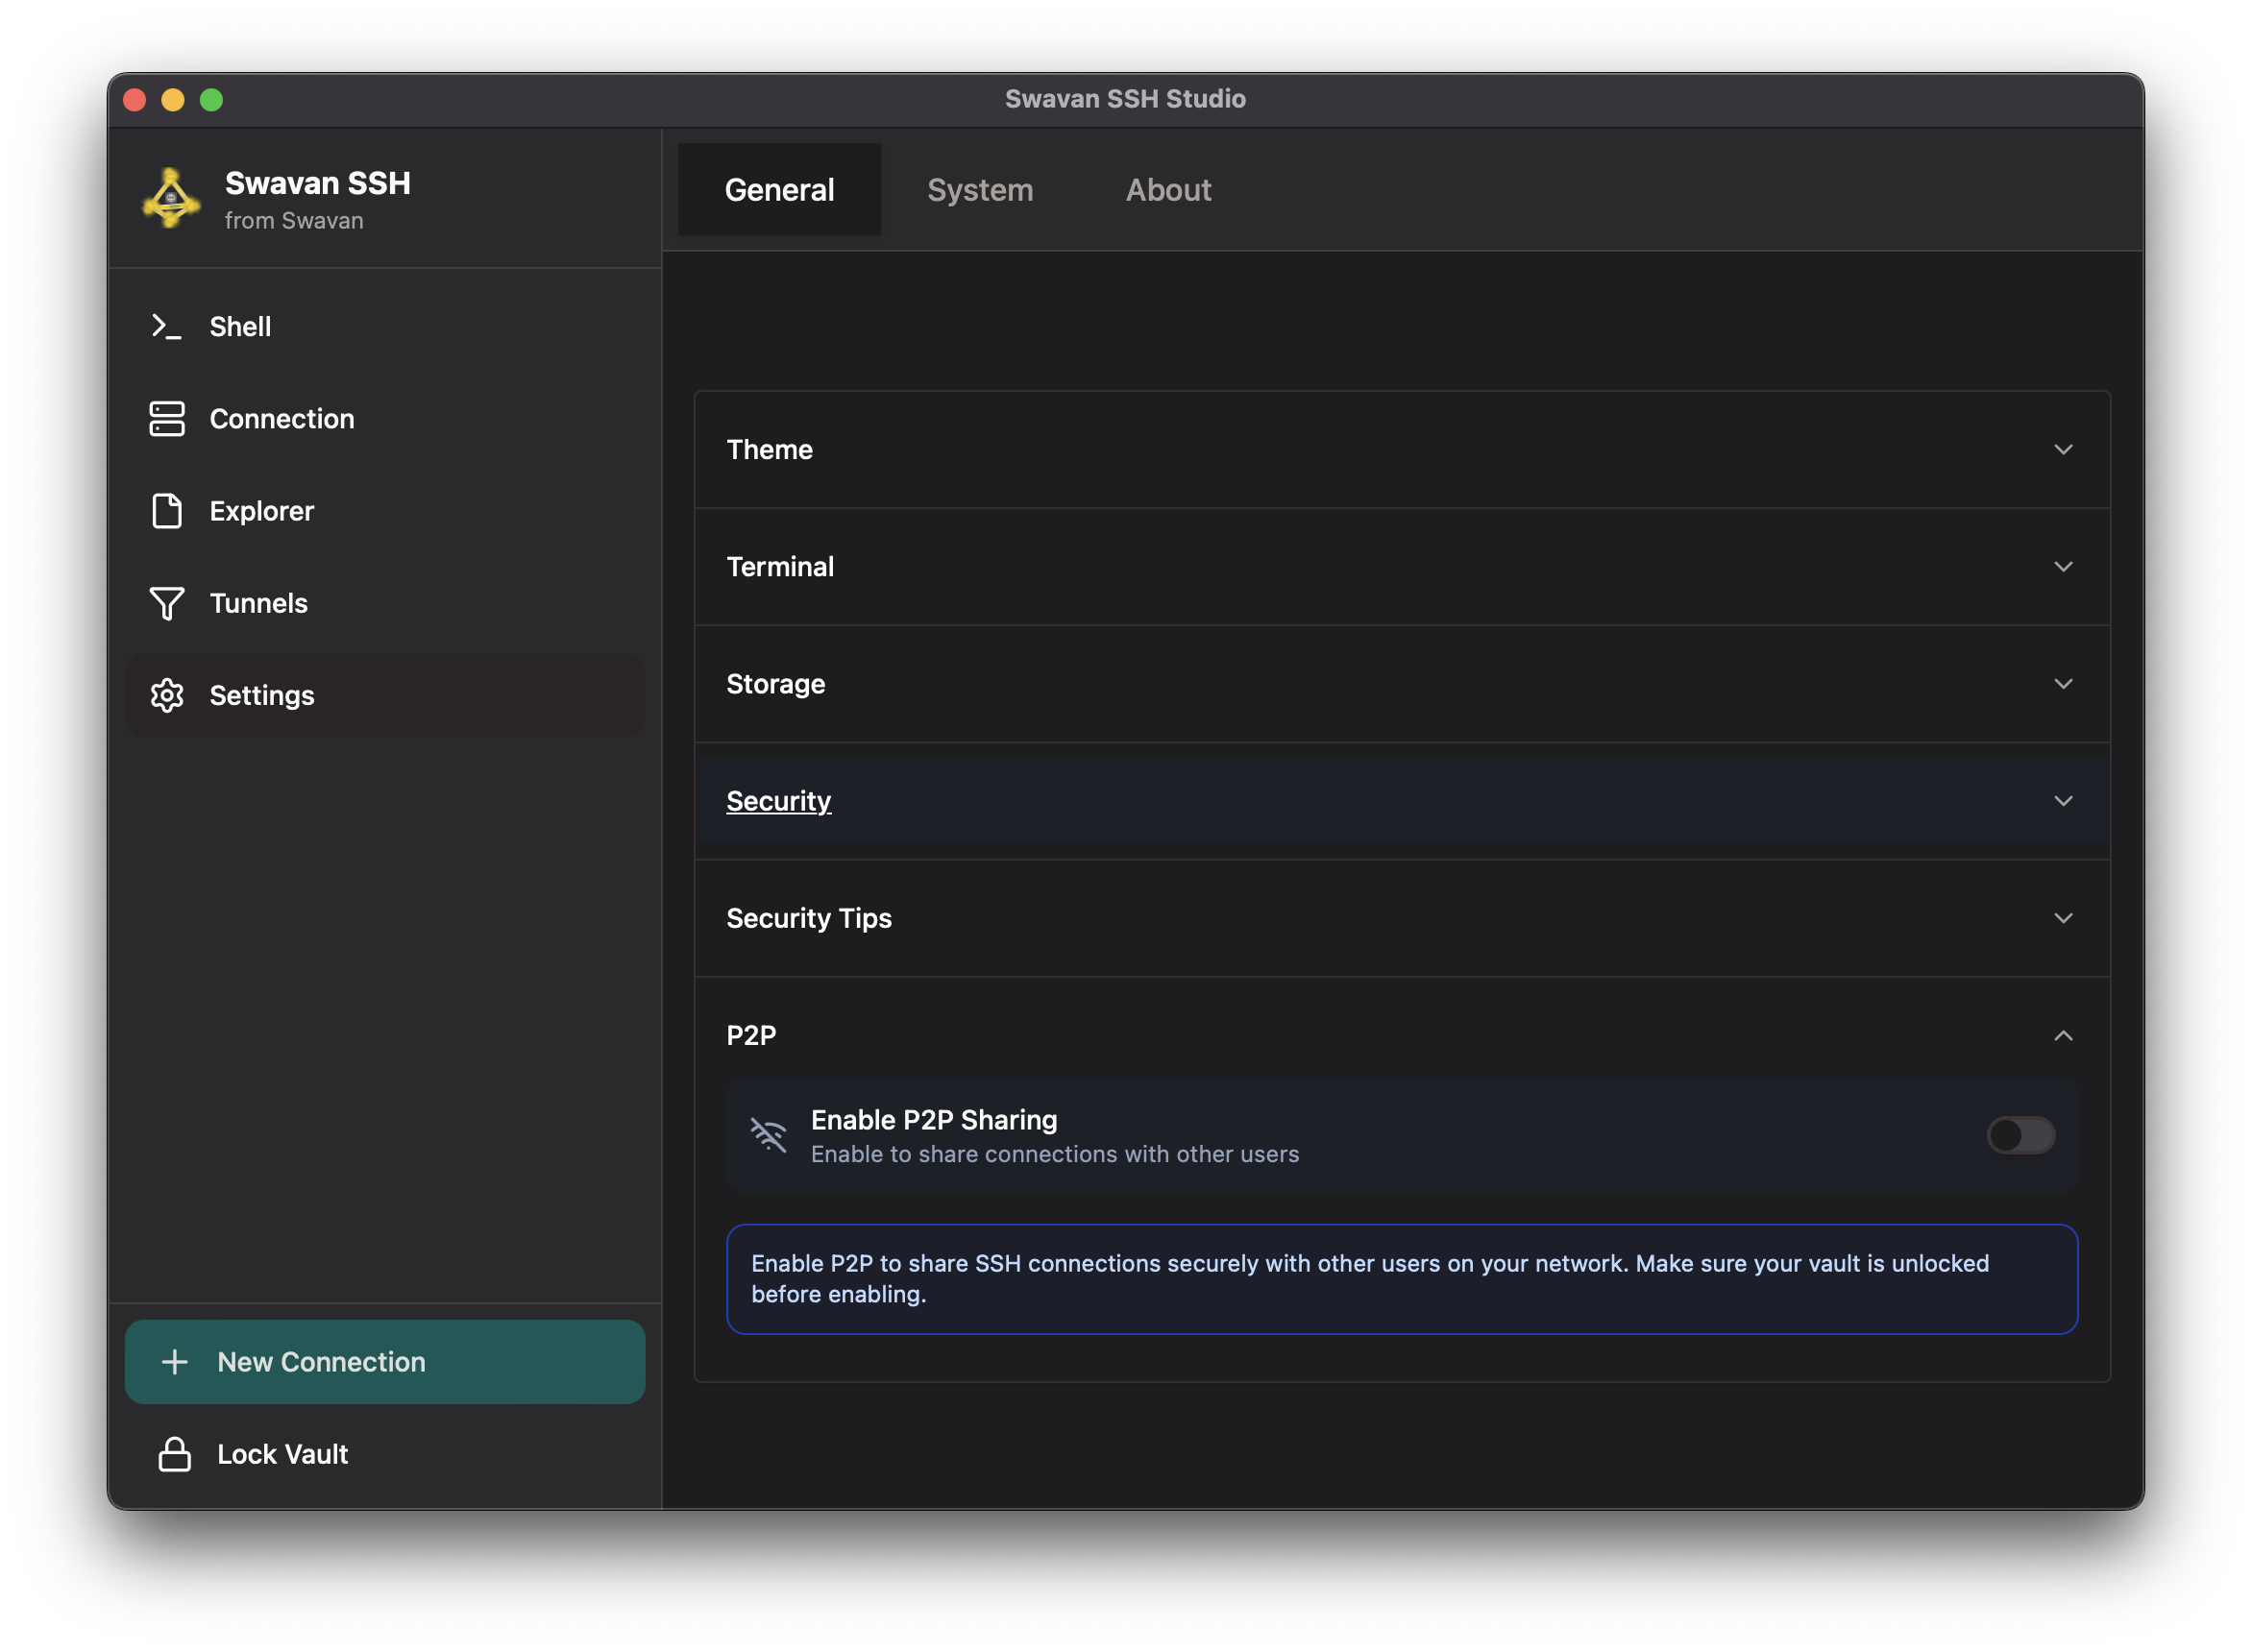
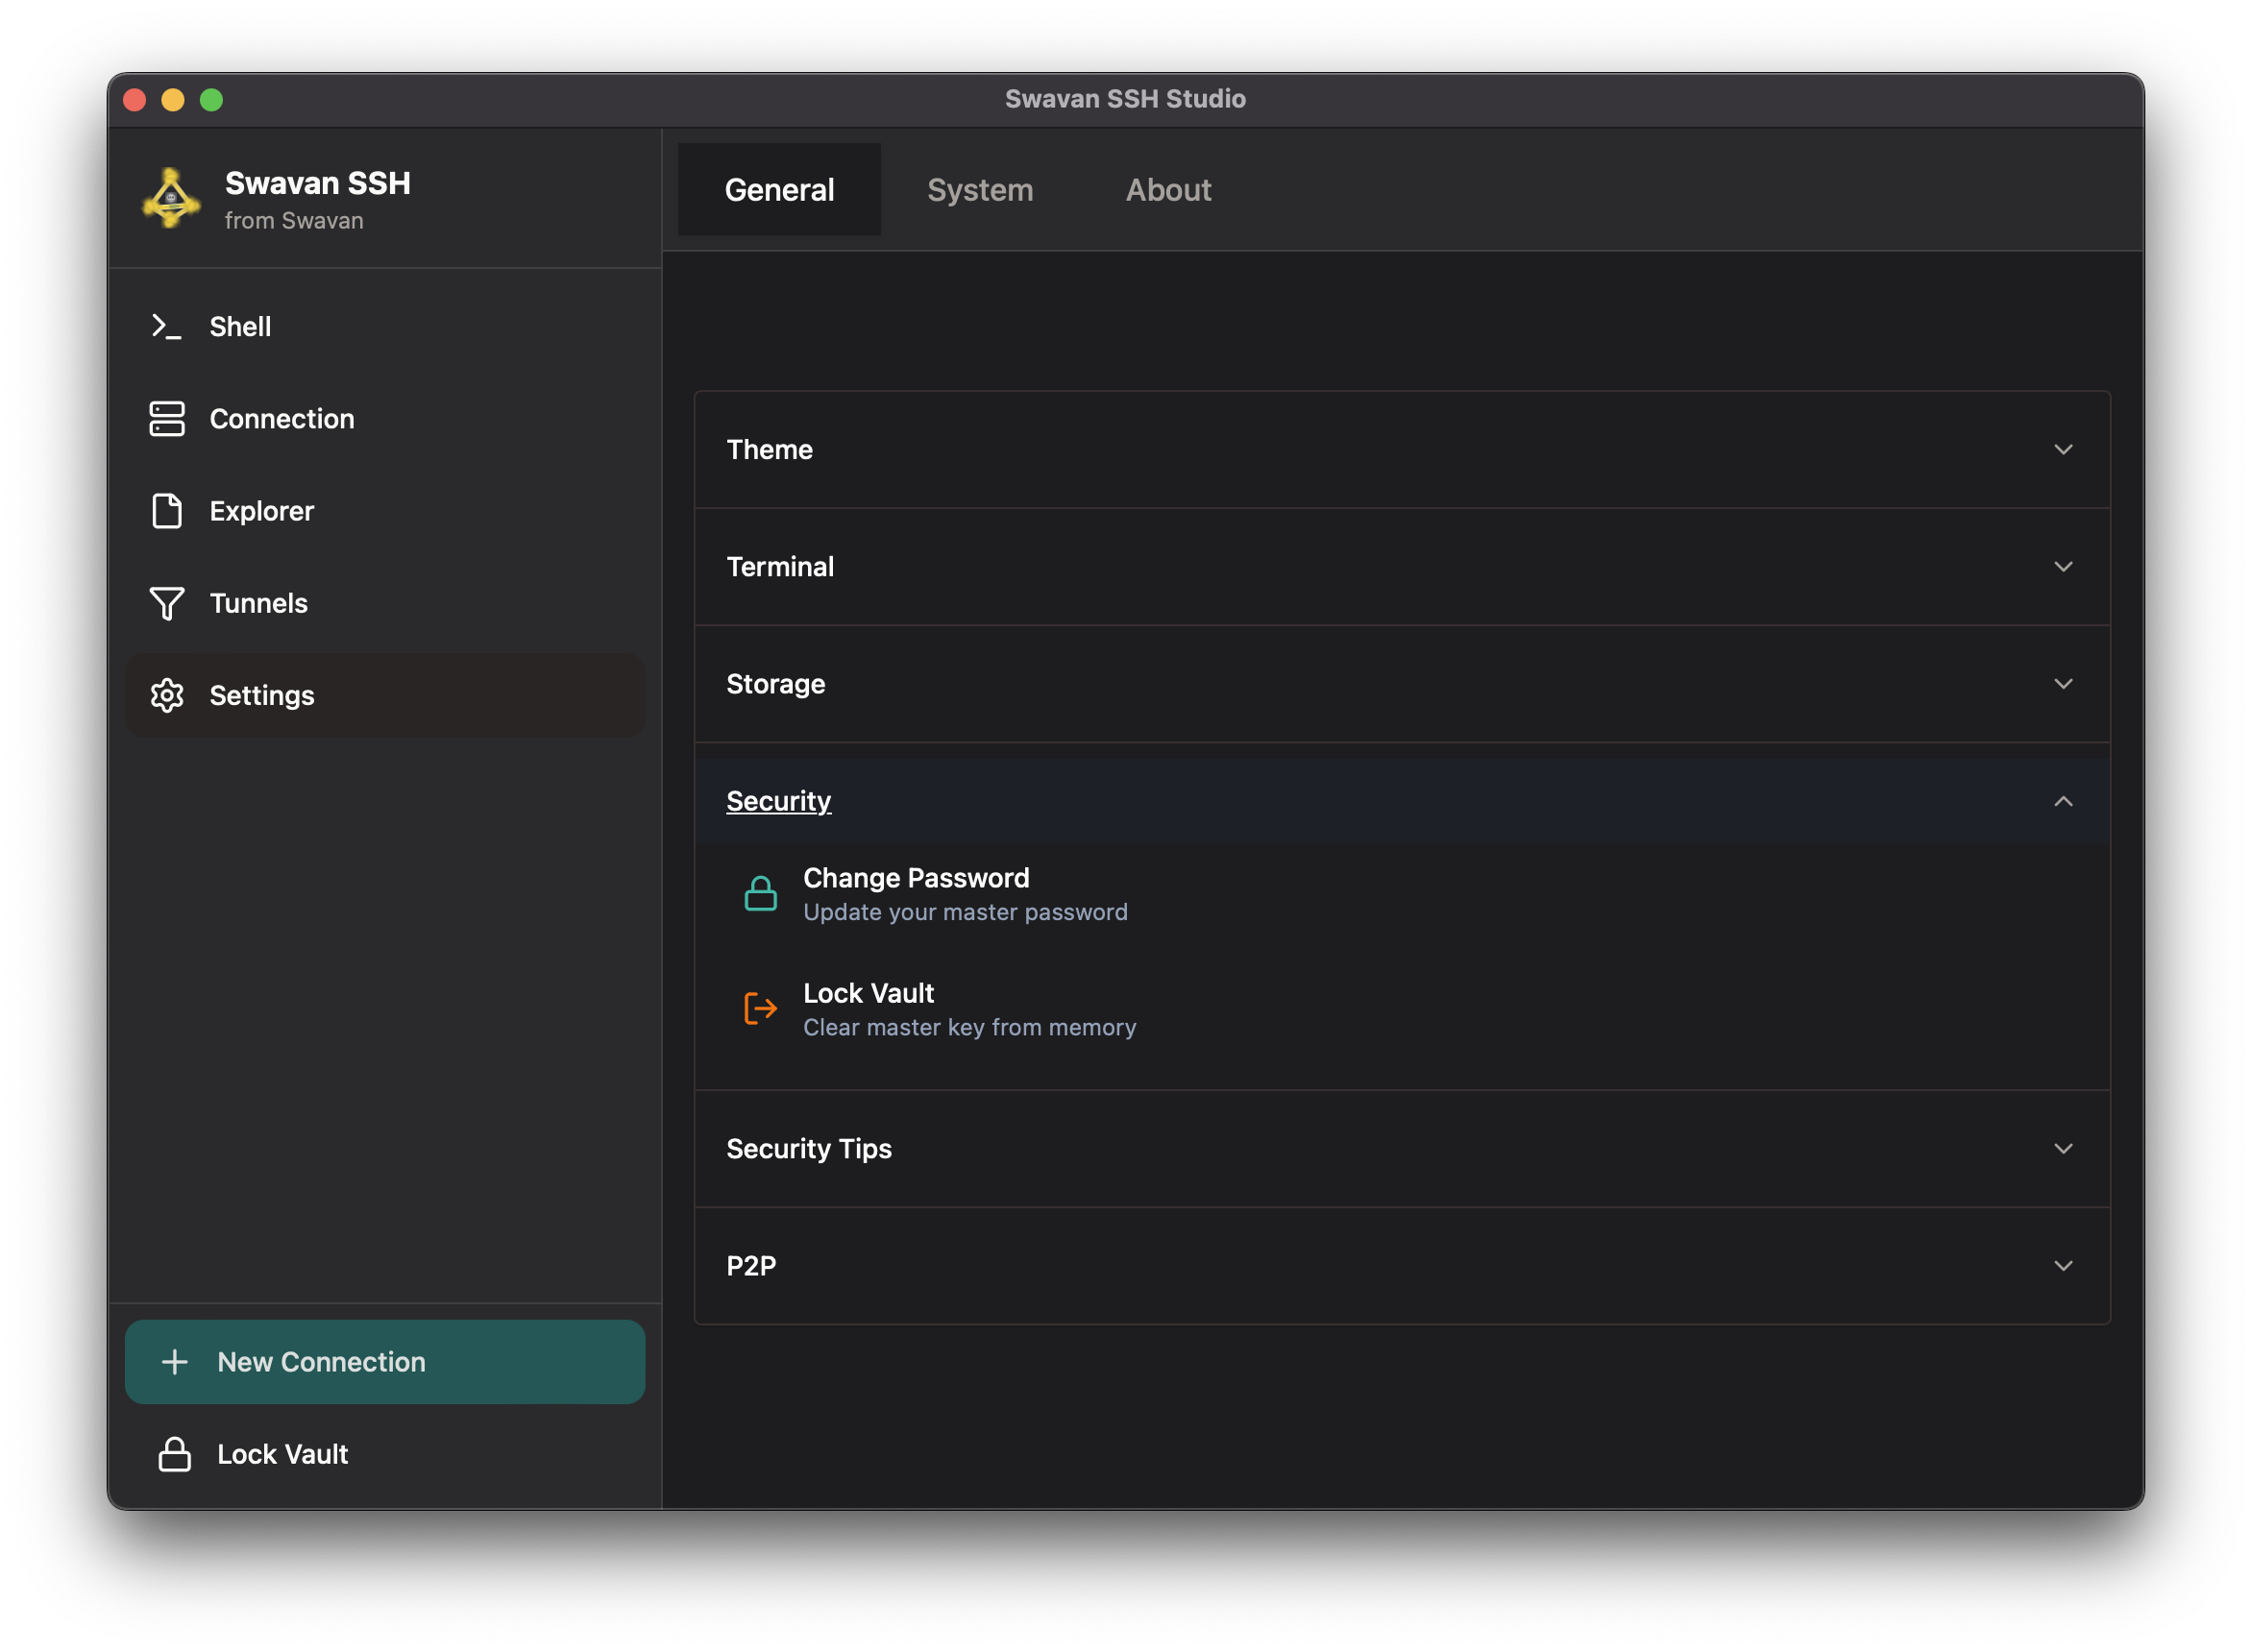
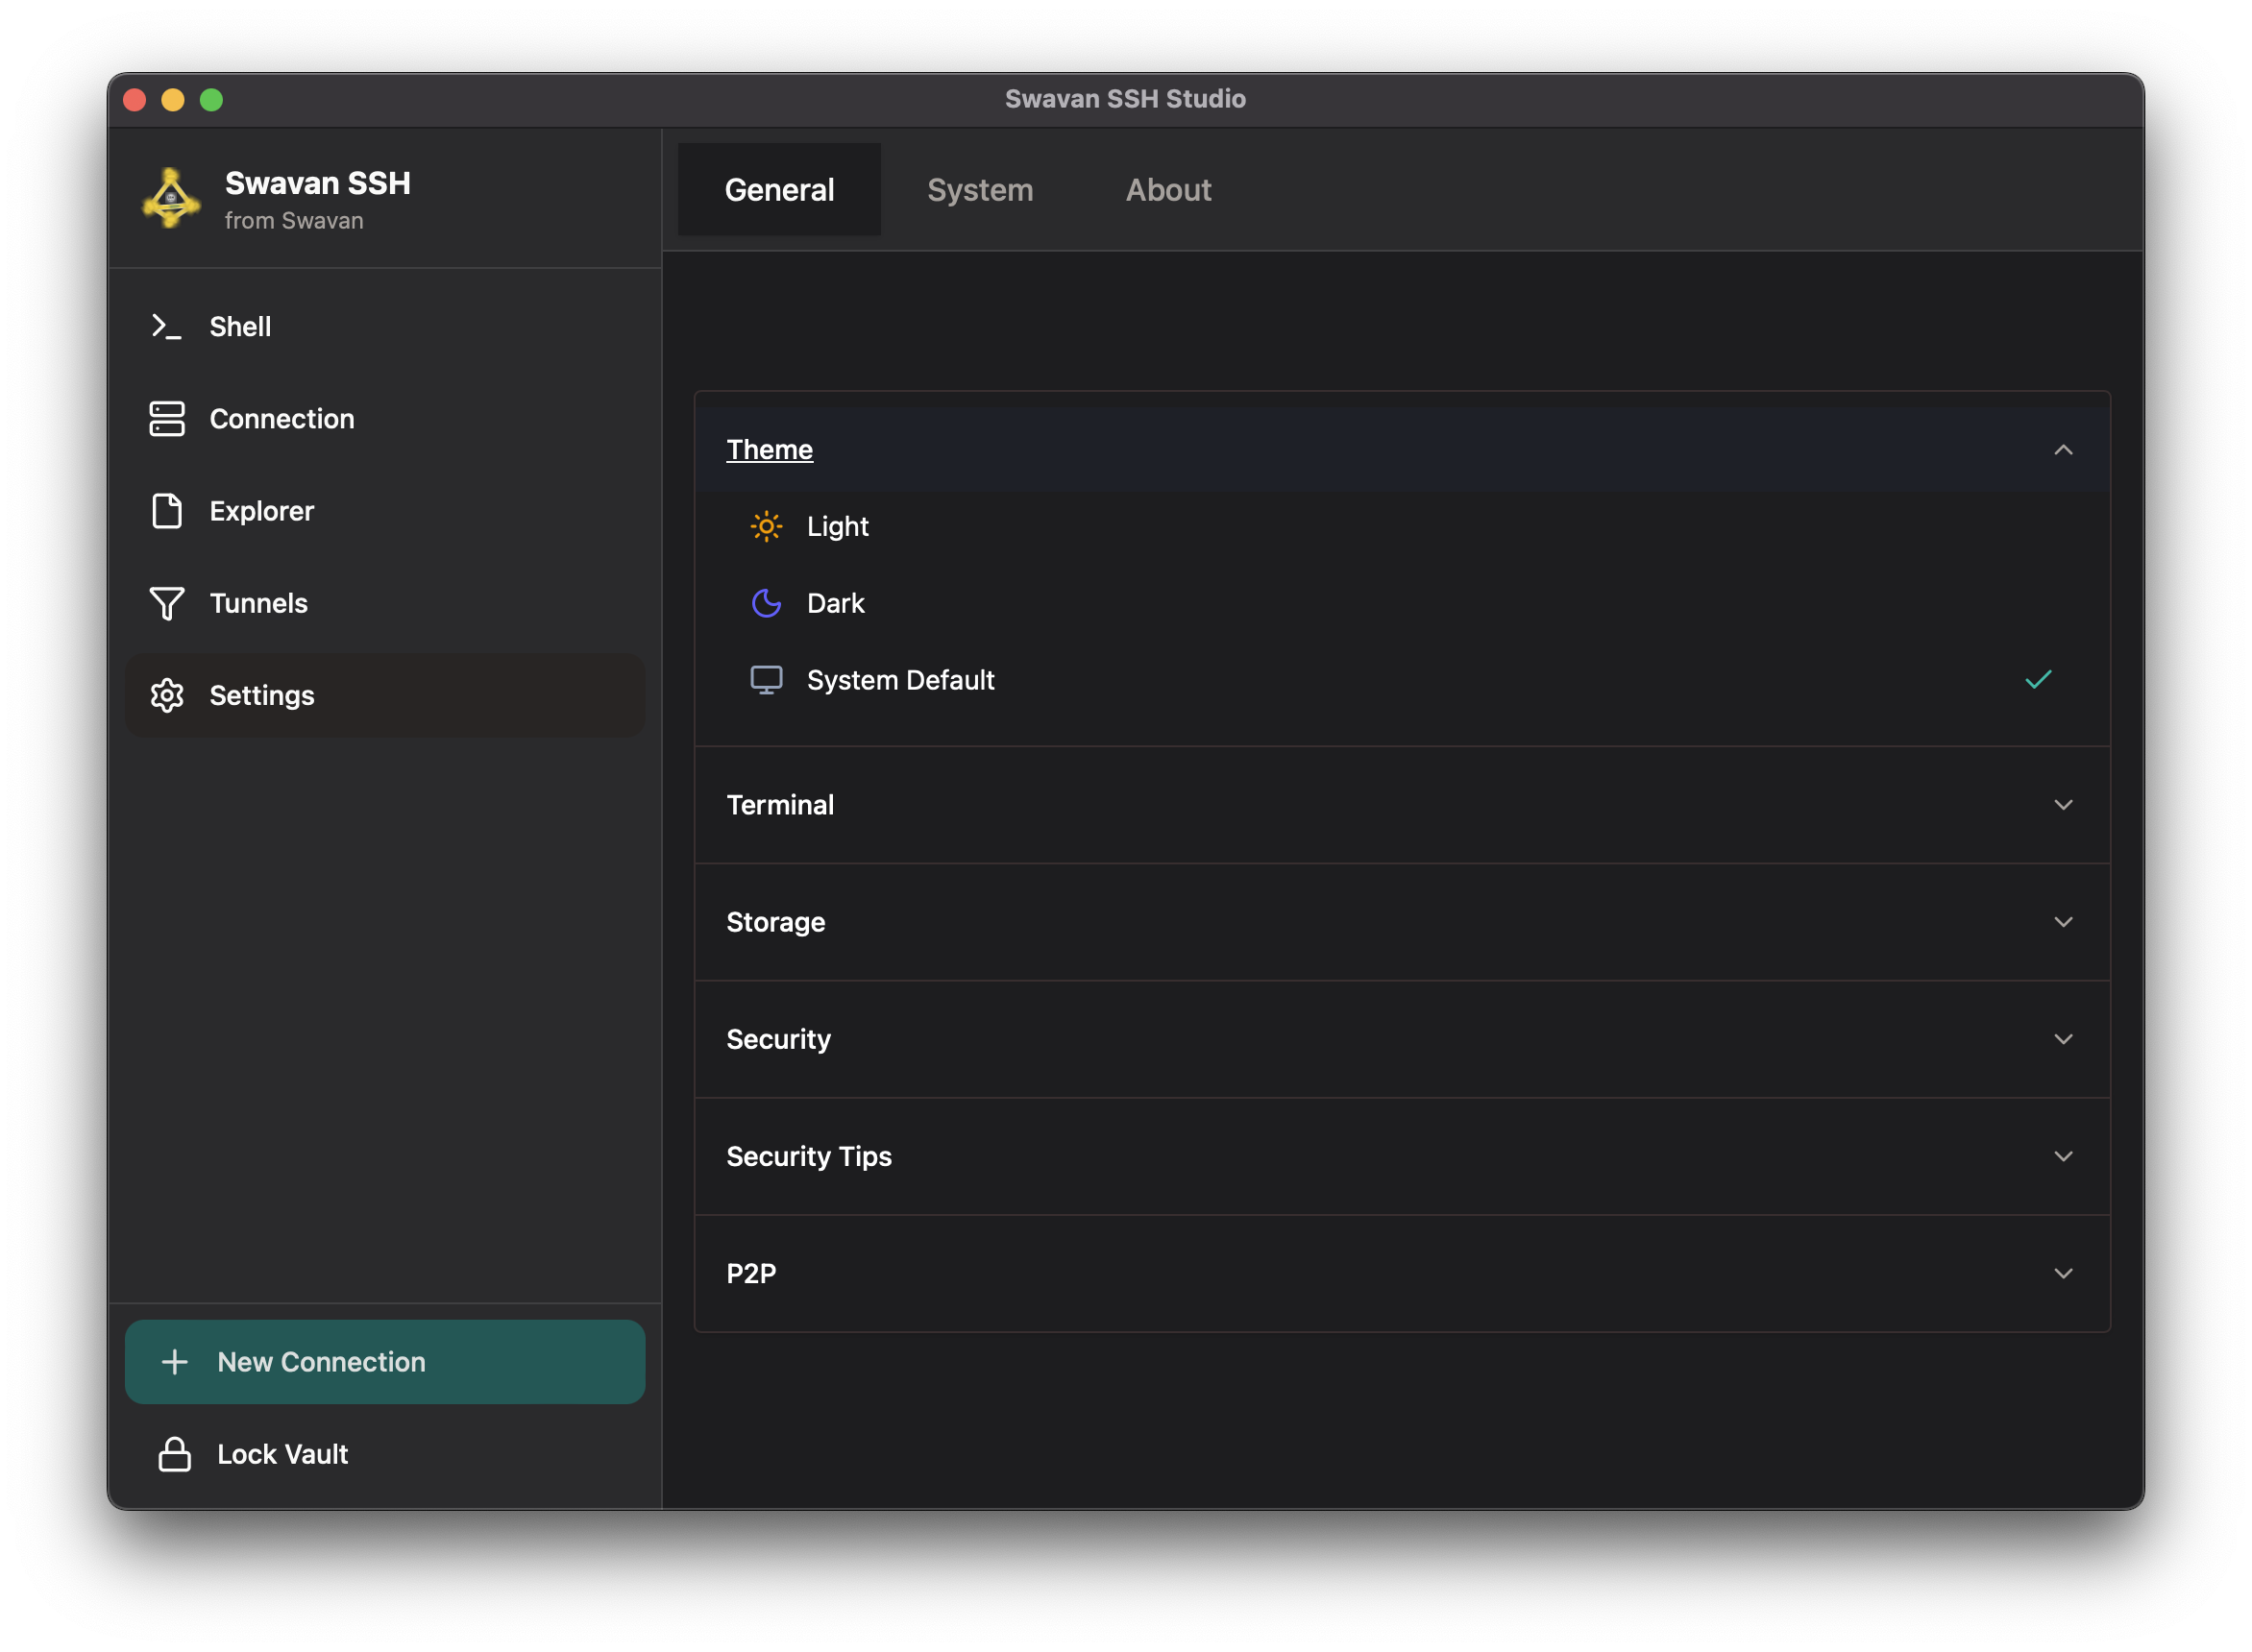
- Settings icon — preferences, security, customization